How To Use The Canvas API
An in-depth look at the Canvas API, from drawing primitives to image processing, animation, and client-side exports.
Tue Oct 21 2025 • 22 min read
Your browser isn’t just a document viewer anymore - it’s a full graphics engine. With the Canvas API, the browser can generate images, apply filters, render text, compress files, and manipulate pixels with near-native performance - all without servers, plugins, or external libraries.
If you’ve ever used an in-browser image editor, chart visualizer, or meme generator, you’ve already seen Canvas in action. What most developers don’t realize is: the Canvas API is the underlying engine powering entire categories of modern web tools - including many inside Vayce.
In this guide, we’ll unpack the Canvas API from the ground up - not just as a drawing surface, but as a pixel processing pipeline. By the end, you’ll understand the methods that matter, how they work at the rendering level, and how you can use Canvas to build fully local, client-side tools.
The Canvas Element
A canvas is a simple HTML element with two roles:
- A visible region on the page, defined by its
widthandheightattributes. - A drawing context that exposes methods for rendering content.
<canvas id="canvas" width="640" height="480"></canvas>If you omit width or height, Canvas defaults to 300×150 pixels - a common source of confusion. Always set both attributes to the exact pixel size you need. CSS scaling only stretches the bitmap visually; it doesn’t change its internal resolution.
To start drawing:
const canvas = document.getElementById('canvas');
const ctx = canvas.getContext('2d');
getContext('2d') returns a CanvasRenderingContext2D - the object that does the actual drawing.
Coordinate System and Units
The canvas coordinate system starts at (0, 0) in the top-left corner.
x increases to the right, y increases downward.
All coordinates are in CSS pixels, which may map to multiple device pixels on high-DPI screens.
To check the ratio:
const dpr = window.devicePixelRatio || 1;You can scale the canvas to match device resolution:
canvas.width = 640 * dpr;
canvas.height = 480 * dpr;
ctx.scale(dpr, dpr);
This ensures crisp rendering on Retina displays.
Drawing Primitives
Canvas can render both vector and bitmap data. The simplest primitives are rectangles, paths, and text.
Rectangles
ctx.fillStyle = '#46c2a5';
ctx.fillRect(20, 20, 200, 120);
fillRect(x, y, width, height) draws a filled rectangle.
For outlines only:
ctx.strokeStyle = 'white';
ctx.lineWidth = 4;
ctx.strokeRect(20, 20, 200, 120);
To clear an area:
ctx.clearRect(0, 0, canvas.width, canvas.height);Paths
Paths let you draw arbitrary lines, curves, and shapes. You define a path, then fill or stroke it.
ctx.beginPath();
ctx.moveTo(50, 50);
ctx.lineTo(150, 50);
ctx.lineTo(100, 120);
ctx.closePath();
ctx.fillStyle = '#00bfa6';
ctx.fill();
Each beginPath() resets the current path.
You can also draw curves and arcs:
ctx.beginPath();
ctx.arc(100, 100, 40, 0, Math.PI * 2);
ctx.stroke();
or quadratic / bezier curves:
ctx.beginPath();
ctx.moveTo(20, 80);
ctx.quadraticCurveTo(100, 10, 180, 80);
ctx.stroke();
Styling Paths
ctx.lineWidth→ thickness in pixelsctx.lineJoin→ “miter”, “round”, “bevel”ctx.lineCap→ “butt”, “round”, “square”ctx.setLineDash([5, 3])→ dashed lines
Example:
ctx.lineWidth = 8;
ctx.lineJoin = 'round';
ctx.strokeStyle = '#ffcc00';
ctx.stroke();
Colors, Gradients, and Patterns
The Canvas API gives you flexible ways to fill and outline shapes - from solid colors to smooth gradients and repeating patterns.
Solid Fill
ctx.fillStyle = 'oklch(62% 0.17 162.48)';
ctx.fillRect(10, 10, 200, 100);
Any CSS color format works: #hex, rgb(), hsl(), oklch(), etc.
Gradients
Canvas supports both linear and radial gradients.
const grad = ctx.createLinearGradient(0, 0, 200, 0);
grad.addColorStop(0, '#46c2a5');
grad.addColorStop(1, '#0f0f0f');
ctx.fillStyle = grad;
ctx.fillRect(10, 10, 200, 100);
Radial gradients use two circles:
const radial = ctx.createRadialGradient(100, 100, 0, 100, 100, 80);
radial.addColorStop(0, '#46c2a5');
radial.addColorStop(1, '#0f0f0f');
ctx.fillStyle = radial;
ctx.fillRect(0, 0, 200, 200);
Patterns
A pattern repeats an image as a texture.
const img = new Image();
img.src = 'pattern.png';
img.onload = () => {
    const pattern = ctx.createPattern(img, 'repeat');
    ctx.fillStyle = pattern;
    ctx.fillRect(0, 0, 400, 400);
};
Repeat modes: 'repeat', 'repeat-x', 'repeat-y', 'no-repeat'.
Drawing Text
Canvas can draw text directly onto the image - useful for labels, overlays, or quick annotations.
ctx.font = 'bold 48px Inter';
ctx.fillStyle = '#fff';
ctx.textAlign = 'center';
ctx.fillText('Canvas API', 200, 100);
When you call fillText(), the text is immediately turned into pixels, not editable text. That means it won’t wrap, reflow, or respond to layout changes like normal HTML. If you resize the canvas, the text will scale or blur just like any other image content.
You can control placement and direction with a few key properties:
ctx.textBaseline→ vertical alignment: “top”, “middle”, “alphabetic”ctx.textAlign→ horizontal alignment: “left”, “center”, “right”ctx.direction→ text direction: “ltr” / “rtl”ctx.measureText('Hello').width→ get text width in pixels
For full paragraphs or accessible content, use DOM text instead. Canvas text is meant for visuals, not documents.
Transformations
Canvas has its own transformation stack. You can move, rotate, or scale the coordinate space before drawing.
ctx.save();
ctx.translate(150, 150);
ctx.rotate(Math.PI / 4);
ctx.fillStyle = '#46c2a5';
ctx.fillRect(-50, -50, 100, 100);
ctx.restore();
Each call to save() pushes the current state (including transforms and styles) onto a stack.
restore() pops the last state.
Common transforms:
ctx.translate(x, y)→ move originctx.rotate(angleInRadians)ctx.scale(x, y)ctx.transform(a, b, c, d, e, f)→ direct matrixctx.resetTransform()→ reset to default
Transforms affect all subsequent drawing operations until restored.
Animation Basics
The Canvas API shines when things need to move - from simple loaders to full interactive scenes. To keep motion smooth, browsers offer a built-in timing loop called requestAnimationFrame().
Unlike setInterval, which fires on a fixed timer, requestAnimationFrame() waits for the next screen repaint (usually 60 times per second). This means your drawing runs in sync with the monitor’s refresh cycle - no tearing, stuttering, or wasted frames. If the tab isn’t visible, the browser automatically pauses it to save power and CPU.
You can think of it like asking the browser:
“Before you paint the next frame, call this function so I can update what’s on screen.”
Here’s an example of a rotating square:
const canvas = document.getElementById('canvas');
const ctx = canvas.getContext('2d');
canvas.width = 200;
canvas.height = 200;

function animate(t) { // t is timestamp in ms, provided by requestAnimationFrame
    ctx.clearRect(0, 0, canvas.width, canvas.height); // Clear previous frame
    ctx.save();
    ctx.translate(100, 100); // Center the square
    ctx.rotate((t / 1000) % (Math.PI * 2)); // Rotate based on time
    ctx.fillStyle = '#46c2a5';
    ctx.fillRect(-25, -25, 50, 50); // Draw 50x50 square
    ctx.restore();
    requestAnimationFrame(animate); // Schedule next frame
}

requestAnimationFrame(animate);
Each call clears the canvas, updates the rotation, and then requests the next repaint - creating a natural, browser-paced loop.
To pause or stop, keep the returned ID:
const id = requestAnimationFrame(animate);
cancelAnimationFrame(id);
Global Alpha and Composition
Canvas can mix colors and control transparency at the pixel level using globalAlpha and globalCompositeOperation. These settings affect every shape you draw until you reset them, making them powerful for overlays, shadows, and layered effects.
Transparency
globalAlpha sets an overall opacity for all drawing operations - from 0 (fully transparent) to 1 (fully opaque).
ctx.globalAlpha = 0.5;
ctx.fillStyle = '#46c2a5';
ctx.fillRect(50, 50, 100, 100);
Each shape will be drawn at half opacity, allowing whatever is behind it to show through.
Compositing Modes
The globalCompositeOperation defines how new pixels blend with the existing ones already on the canvas. It’s how you create realistic lighting, shadows, or color effects without extra layers.
Common modes include:
- source-over (default): new shapes draw over old ones
- destination-over: new shapes draw behind existing ones
- multiply: darkens overlapping areas
- screen: brightens overlaps
- overlay, lighten, darken: mix tones based on color and brightness
ctx.globalCompositeOperation = 'multiply';
ctx.fillStyle = 'red';
ctx.fillRect(0, 0, 100, 100);
ctx.fillStyle = 'blue';
ctx.fillRect(50, 50, 100, 100);
Shadows
Canvas can draw drop shadows directly - no extra layers or filters needed. These effects apply to both fills and strokes, giving depth to shapes, text, or UI elements.
ctx.shadowColor = 'rgba(0,0,0,0.5)';
ctx.shadowBlur = 10;
ctx.shadowOffsetX = 4;
ctx.shadowOffsetY = 4;
ctx.fillRect(50, 50, 100, 100);
Each shadow property affects how the blur is rendered:
- shadowColor: the shadow’s color and opacity
- shadowBlur: how soft or sharp the shadow edge appears
- shadowOffsetX, shadowOffsetY: how far it’s displaced from the shape
Shadows are drawn as part of each shape’s paint operation, so they move and scale naturally with your drawings. The settings stay active until changed or reset.
Working with Images
Images are one of the most common reasons to use Canvas - whether for previews, resizing, filters, or exporting graphics.
When you draw an image onto a canvas, the browser decodes it and paints its pixels directly into the bitmap, giving you full control over every color and byte.
Loading and Drawing
The drawImage() method copies an image (or video or another canvas) into the current context.
const img = new Image();
img.src = 'photo.jpg';
img.onload = () => ctx.drawImage(img, 0, 0);
You can also crop or resize during the draw step:
ctx.drawImage(img, sx, sy, sw, sh, dx, dy, dw, dh);Here:
(sx, sy, sw, sh)→ the source region from the image(dx, dy, dw, dh)→ the destination rectangle on the canvas
Image Smoothing
When scaling, canvas automatically interpolates pixels for smoother results. You can control the quality of that interpolation:
ctx.imageSmoothingEnabled = true;
ctx.imageSmoothingQuality = 'high'; // or 'medium' / 'low'
For pixel art or crisp edges, turn it off:
ctx.imageSmoothingEnabled = false;Disabling smoothing tells the renderer to use nearest-neighbor sampling, preserving sharp boundaries between pixels - perfect for icons or retro visuals.
Reading Pixels
Canvas also lets you read and modify the underlying pixels directly. This is where it moves from being a display tool to a processing engine.
const data = ctx.getImageData(0, 0, 100, 100);
const pixels = data.data; // Uint8ClampedArray of RGBA values
Each pixel has four values - red, green, blue, and alpha - each ranging from 0–255. By looping through and editing these numbers, you can create your own filters and effects:
for (let i = 0; i < pixels.length; i += 4) {
    pixels[i] = 255 - pixels[i];     // invert red
    pixels[i+1] = 255 - pixels[i+1]; // invert green
    pixels[i+2] = 255 - pixels[i+2]; // invert blue
}
ctx.putImageData(data, 0, 0);
When you call putImageData(), the modified buffer is written back to the canvas immediately - no compression, no color management, just raw pixel math.
Exporting and Encoding
Once you’ve drawn or processed an image, you can export the canvas contents as a new image file. Canvas handles this by encoding the bitmap into formats like PNG, JPEG, or WebP.
This is exactly how the Vayce Image Converter Works
Data URL
const dataUrl = canvas.toDataURL('image/png');This returns a base64-encoded string (data:image/png;base64,…) that can be embedded directly into HTML, previews, or downloads.
It’s convenient, but can be memory-heavy for large images because the entire file is stored as text in memory.
Blob
For larger outputs, use toBlob() - it’s asynchronous and more memory-efficient:
canvas.toBlob(blob => {
    const link = document.createElement('a');
    link.href = URL.createObjectURL(blob);
    link.download = 'output.png';
    link.click();
});
A Blob (short for binary large object) is a raw chunk of binary data that represents a file-like object stored in memory.
It doesn’t have to be an image - it could be text, audio, or anything else - but in this case, it contains the encoded image bytes (like a real .png file would on disk).
When you create a Blob from the canvas, the browser handles the encoding in the background and gives you a lightweight reference to it.
You can then pass it to URL.createObjectURL() to generate a temporary file link for download or upload - without blocking the main thread.
This makes toBlob() ideal for saving or processing images without freezing the UI.
Format & Quality
You can control both format and compression level:
canvas.toBlob(cb, 'image/jpeg', 0.8);Supported formats include:
image/png- losslessimage/jpeg- adjustable compressionimage/webp- modern balance of quality and size
Canvas essentially turns the browser into an image workshop - one that can load, transform, analyze, and export graphics entirely client-side, with no servers or uploads required.
This is exactly how the Vayce Image Compressor Works
Performance and Memory
Canvas gives you direct access to the browser’s rendering engine - fast and flexible, but not infinite. Managing memory and avoiding main-thread blocking is key to building smooth, reliable tools.
General Performance Tips
- Avoid canvases larger than 8,000 × 8,000 pixels. Many GPUs can’t allocate buffers that size.
- Use
requestAnimationFrame()for any continuous drawing or animation instead of loops. It synchronizes rendering with the display refresh rate and conserves power. - Reuse a single canvas rather than creating new ones repeatedly.
- Clean up Blob URLs after downloads with
URL.revokeObjectURL()to free memory. - Limit frequent calls to
getImageData()andputImageData()- these are costly operations.
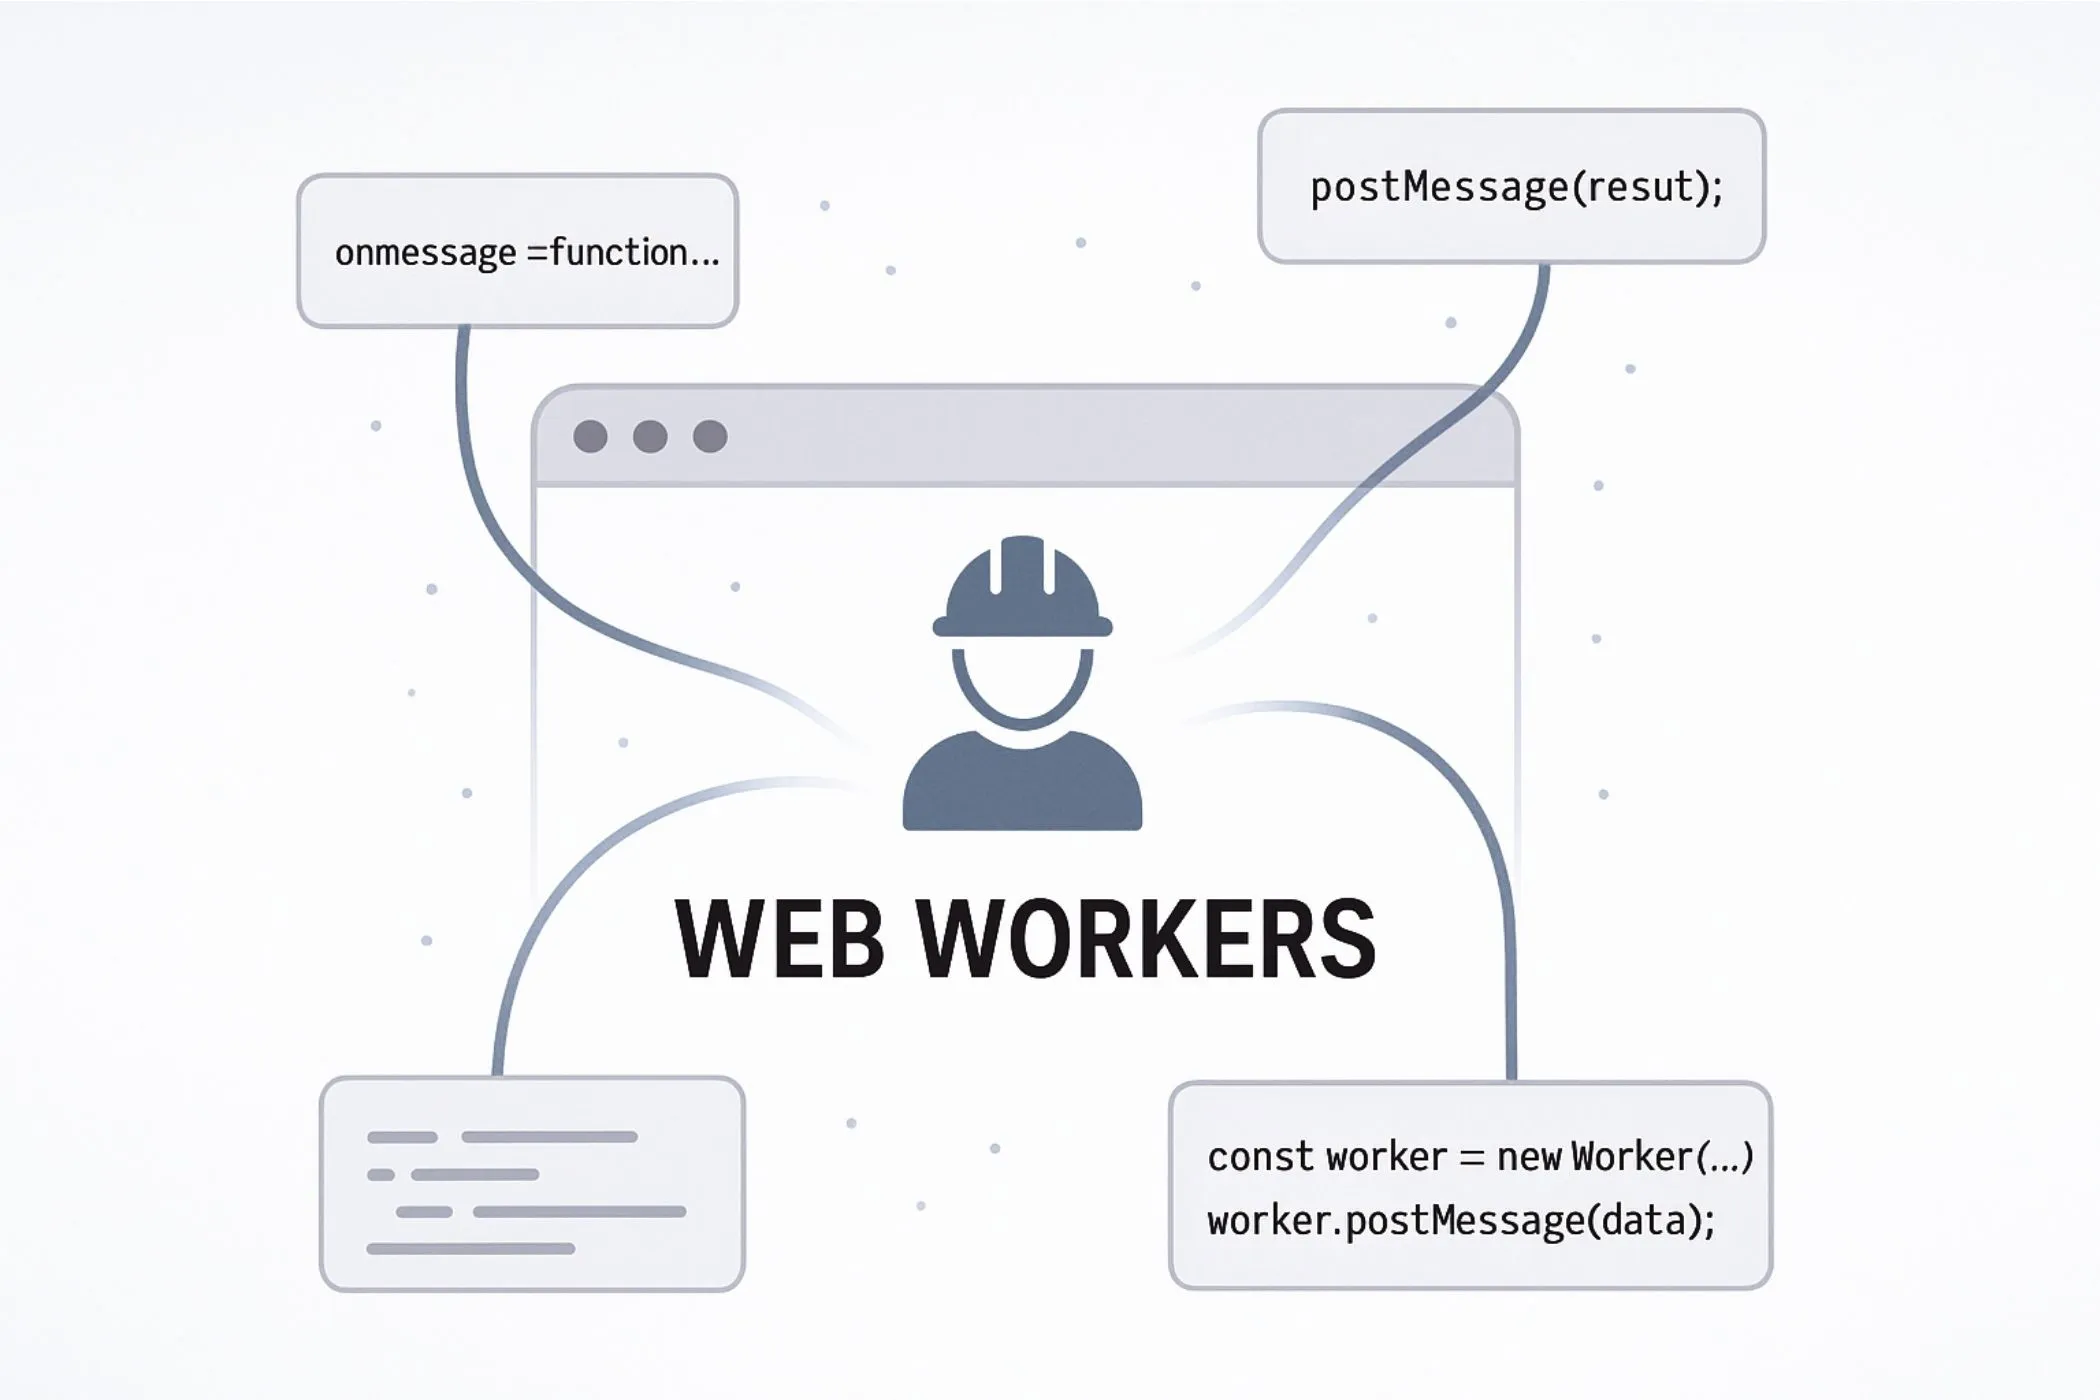
OffscreenCanvas
When a canvas runs in the main thread, every heavy operation (like resizing a large image or applying a filter) competes with the UI. This can make pages freeze or inputs lag.
OffscreenCanvas solves that. It’s a special kind of canvas that works inside a Web Worker, letting you perform the same drawing operations without blocking the interface.
It exposes the same methods as a normal canvas (getContext('2d'), drawImage(), fillRect(), etc.), but it can render off the main thread and even convert its output to a Blob for download or further processing.
// In main thread
const worker = new Worker('worker.js');
const offscreen = document.getElementById('canvas').transferControlToOffscreen();
worker.postMessage({ canvas: offscreen }, [offscreen]);

// In worker.js
self.onmessage = async e => {
    const canvas = e.data.canvas;
    const ctx = canvas.getContext('2d');
    ctx.fillStyle = '#46c2a5';
    ctx.fillRect(0, 0, 200, 200);
    const blob = await canvas.convertToBlob();
    // send or use blob here
};
This allows complex image processing (compression, scaling, filtering) to run in parallel, keeping the main page responsive.
When to Use It
Use OffscreenCanvas when:
- Your app manipulates large images or many frames.
- You want smooth UI updates while heavy drawing occurs.
- You need background workers to prepare visual assets before display.
Use a regular canvas when:
- You only draw small elements or UI visuals.
- You rely on DOM integration or immediate display.
In short: OffscreenCanvas is the same drawing engine, just detached. It’s available in Chromium and Firefox, with partial support in Safari.
State Stack
Every time you draw on Canvas, the context remembers a full drawing state. Things like colors, line width, transforms, alpha, shadows, and composite modes. Instead of resetting each value manually, you can push and pop these states with a built-in stack system.
ctx.save();
ctx.fillStyle = 'red';
ctx.fillRect(10, 10, 50, 50);

ctx.save();
ctx.fillStyle = 'blue';
ctx.fillRect(70, 10, 50, 50);

ctx.restore();
ctx.fillRect(130, 10, 50, 50); // red again

ctx.restore();
Each call to save() takes a snapshot of the current state and pushes it onto the stack.
Each restore() pops the last snapshot and reverts to it - undoing any style or transform changes made since the last save.
This model is especially useful when you’re applying temporary effects or nested transformations (like rotating one element without affecting the rest of the scene).
It’s the Canvas equivalent of scoped styling - a way to keep your visual changes local and reversible.
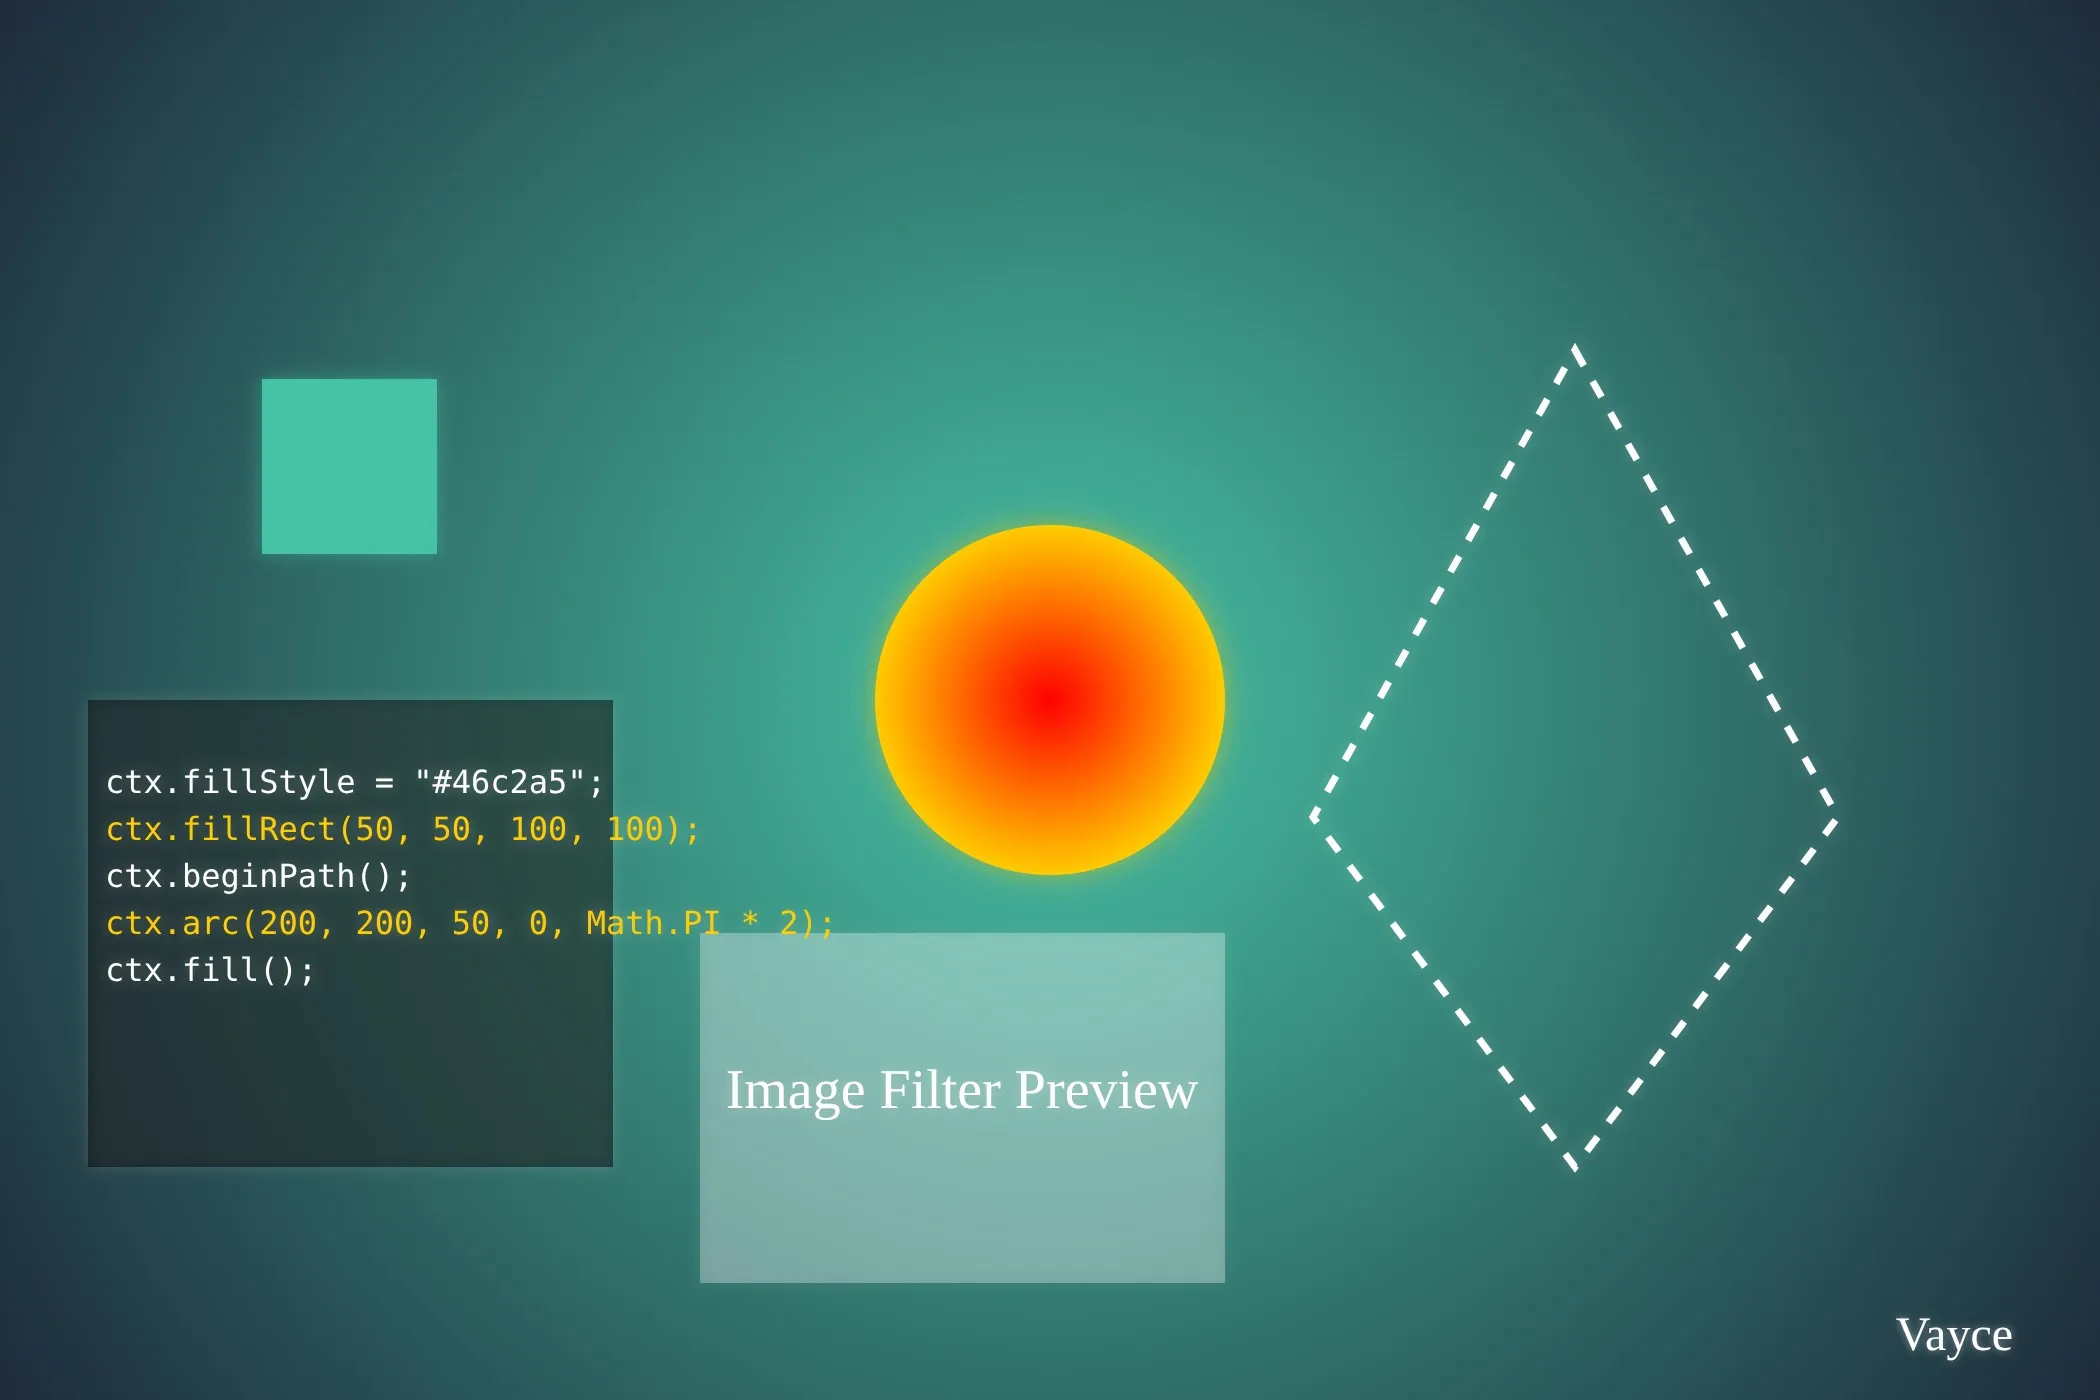
Filters
Canvas supports visual effects through the ctx.filter property - the same syntax used in CSS (blur(), contrast(), grayscale(), etc.). Filters let you apply non-destructive image adjustments directly as you draw.
ctx.filter = 'blur(2px) contrast(120%) saturate(150%)';
ctx.drawImage(img, 0, 0);
ctx.filter = 'none';
Each time you set ctx.filter, the effect is applied only during that specific draw operation. The source image stays unchanged - Canvas processes the pixels on the fly, much like a live preview.
You can combine multiple filters in one line, and they’ll run in order from left to right. Common examples include:
blur(4px)brightness(1.2)contrast(110%)grayscale(100%)sepia(0.5)hue-rotate(45deg)
Because filters are GPU-accelerated, they’re fast enough for real-time previews, animations, or interactive editors.
Debugging and Security
Tainted Canvases
Canvas works closely with the browser’s security model.
If you draw an image from another domain that doesn’t explicitly allow cross-origin access, the browser taints the canvas - meaning it locks down pixel-level methods like getImageData(), toBlob(), and toDataURL().
This prevents malicious pages from reading image data (for example, from a user’s private cloud or social media).
When tainted, any attempt to export or inspect pixels will throw a SecurityError.
To avoid this, request images with CORS enabled:
const img = new Image();
img.crossOrigin = 'anonymous';
img.src = 'https://example.com/photo.jpg';
And make sure the remote server includes the header:
Access-Control-Allow-Origin: *
Debugging Tips
Canvas doesn’t have a built-in inspector, so visual and logging tricks are essential when debugging:
- Use
ctx.strokeRect()to outline drawing regions or test alignments. - Log
canvas.toDataURL().slice(0,100)to verify encoding without printing megabytes of text. - In Chrome DevTools, open Rendering → Canvas inspection to pause and analyze frames step-by-step.
Accessibility Considerations
Canvas content is rendered as a bitmap, so screen readers and assistive technologies perceive it as a single image, not interactive elements or text. To make your canvas-based tools inclusive:
- Add ARIA Attributes: Use
aria-labeloraria-describedbyon the<canvas>element to describe its purpose or content.
<canvas id="canvas" aria-label="Interactive image editor with scaling and filter controls"></canvas>- Provide Fallbacks: For critical visuals (e.g., charts or diagrams), include a hidden DOM element with equivalent text or data. For example:
    <div id="canvas-desc" style="display: none;">
        Bar chart showing sales data: Q1: 100 units, Q2: 150 units, Q3: 200 units.
    </div>
    <canvas id="canvas" aria-describedby="canvas-desc"></canvas>
Full Demo (Local Image Editor)
We’ve covered the main features of the Canvas API: drawing, image manipulation, and exporting. Now let’s bring everything together into one working example. This section builds the editor step by step - and ends with a single snippet you can copy, run, and modify.
Step 1: Set up the page
Create the controls and the canvas in HTML. These will let you upload an image, adjust its scale, apply filters, and save it.
<input type="file" id="file" accept="image/*">
<label>Scale <input type="range" id="scale" min="0.1" max="1" step="0.1" value="0.5"></label>
<label>Invert <input type="checkbox" id="invert"></label>
<label>Grayscale <input type="checkbox" id="gray"></label>
<canvas id="canvas"></canvas>
<button id="save">Download</button>
This gives you a blank workspace - the <canvas> - and basic controls. You’ll use JavaScript next to make them work.
Step 2: Connect the UI
Grab references to each element and prepare a 2D rendering context:
const fileInput = document.getElementById('file');
const scaleInput = document.getElementById('scale');
const invertInput = document.getElementById('invert');
const grayInput = document.getElementById('gray');
const saveBtn = document.getElementById('save');
const canvas = document.getElementById('canvas');
const ctx = canvas.getContext('2d');

let img; // will store the image object
The context (ctx) is your drawing interface - the bridge between JavaScript and pixels.
Step 3: Load and draw an image
Use the File input to pick an image, then draw it when loaded.
fileInput.onchange = e => {
    const file = e.target.files[0];
    if (!file) return;
    img = new Image();
    img.src = URL.createObjectURL(file);
    img.onload = draw; // call draw() once ready
};
The browser decodes the file and triggers onload. Then you can scale and render it on the canvas.
Step 4: Add scaling and filters
The draw() function will handle both the scaling and filter logic:
function draw() {
    if (!img) return;
    const scale = parseFloat(scaleInput.value);
    canvas.width = img.width * scale;
    canvas.height = img.height * scale;

    ctx.imageSmoothingEnabled = true;
    ctx.drawImage(img, 0, 0, canvas.width, canvas.height);

    const imageData = ctx.getImageData(0, 0, canvas.width, canvas.height);
    const d = imageData.data;

    for (let i = 0; i < d.length; i += 4) {
        if (invertInput.checked) {
            d[i] = 255 - d[i];
            d[i + 1] = 255 - d[i + 1];
            d[i + 2] = 255 - d[i + 2];
        }
        if (grayInput.checked) {
            const avg = (d[i] + d[i + 1] + d[i + 2]) / 3;
            d[i] = d[i + 1] = d[i + 2] = avg;
        }
    }

    ctx.putImageData(imageData, 0, 0);
}

scaleInput.oninput = draw;
invertInput.oninput = draw;
grayInput.oninput = draw;
This function:
- Draws the uploaded image scaled to the canvas size.
- Reads all pixels with
getImageData(). - Applies filters if toggled on.
- Writes the result back to the canvas with
putImageData().
Step 5: Export the result
To let users save their edited image, add a click handler that converts the canvas to a downloadable file.
saveBtn.onclick = () => {
    canvas.toBlob(blob => {
        const link = document.createElement('a');
        link.href = URL.createObjectURL(blob);
        link.download = 'edited.png';
        link.click();
        URL.revokeObjectURL(link.href);
    });
};
This generates a Blob from the current canvas content and triggers a download - all handled locally.
Step 6: Putting it all together
Here’s the entire working demo in one snippet. Copy it into a blank file named canvas-demo.html, open it in your browser, and try it.
<!DOCTYPE html>
<html lang="en">
<head>
    <meta charset="UTF-8">
    <meta name="viewport" content="width=device-width, initial-scale=1.0">
    <title>Canvas Image Editor</title>
    <style>
        body {
            background: linear-gradient(135deg, #1a1a2e 0%, #2a3a4e 100%);
            min-height: 100vh;
            display: flex;
            flex-direction: column;
            align-items: center;
            gap: 20px;
            padding: 20px;
            font-family: 'Inter', sans-serif;
            color: #ffffff;
        }

        .file-input {
            background: rgba(255, 255, 255, 0.1);
            border: 1px solid #46c2a5;
            border-radius: 6px;
            padding: 10px;
            color: #ffffff;
            cursor: pointer;
            transition: background 0.3s, transform 0.2s;
        }

        .file-input:hover,
        .file-input:focus {
            background: rgba(255, 255, 255, 0.2);
            transform: scale(1.02);
        }

        .control-label {
            background: rgba(0, 0, 0, 0.3);
            backdrop-filter: blur(8px);
            padding: 10px 15px;
            border-radius: 6px;
            display: inline-flex;
            align-items: center;
            gap: 8px;
            font-size: 16px;
            color: #ffffff;
        }

        .control-label input[type="range"],
        .control-label input[type="checkbox"] {
            accent-color: #46c2a5;
            cursor: pointer;
        }

        .control-label input[type="range"] {
            width: 100px;
        }

        .control-label:hover {
            background: rgba(0, 0, 0, 0.4);
        }

        .editor-canvas {
            border: 2px solid #46c2a5;
            border-radius: 8px;
            box-shadow: 0 4px 20px rgba(0, 0, 0, 0.3);
            max-width: 100%;
            background: #ffffff;
        }

        .download-btn {
            background: #46c2a5;
            border: none;
            border-radius: 6px;
            padding: 12px 24px;
            color: #ffffff;
            font-size: 16px;
            font-weight: 600;
            cursor: pointer;
            transition: background 0.3s, transform 0.2s;
        }

        .download-btn:hover,
        .download-btn:focus {
            background: #3aa589;
            transform: scale(1.05);
        }

        .download-btn:active {
            transform: scale(0.98);
        }

        @media (max-width: 600px) {
            .control-label {
                flex-direction: column;
                align-items: flex-start;
            }

            .control-label input[type="range"] {
                width: 80px;
            }
        }
    </style>
</head>
<body>
    <input type="file" id="file" accept="image/*" class="file-input">
    <label class="control-label">Scale <input type="range" id="scale" min="0.1" max="1" step="0.1" value="0.5"></label>
    <label class="control-label">Invert <input type="checkbox" id="invert"></label>
    <label class="control-label">Grayscale <input type="checkbox" id="gray"></label>
    <canvas id="canvas" class="editor-canvas"></canvas>
    <button id="save" class="download-btn">Download</button>

    <script>
        const fileInput = document.getElementById('file');
        const scaleInput = document.getElementById('scale');
        const invertInput = document.getElementById('invert');
        const grayInput = document.getElementById('gray');
        const saveBtn = document.getElementById('save');
        const canvas = document.getElementById('canvas');
        const ctx = canvas.getContext('2d');

        let img;

        fileInput.onchange = e => {
            const file = e.target.files[0];
            if (!file) return;
            img = new Image();
            img.src = URL.createObjectURL(file);
            img.onload = draw;
        };

        scaleInput.oninput = draw;
        invertInput.oninput = draw;
        grayInput.oninput = draw;

        function draw() {
            if (!img) return;
            const scale = parseFloat(scaleInput.value);
            canvas.width = img.width * scale;
            canvas.height = img.height * scale;
            ctx.imageSmoothingEnabled = true;
            ctx.drawImage(img, 0, 0, canvas.width, canvas.height);

            const imageData = ctx.getImageData(0, 0, canvas.width, canvas.height);
            const d = imageData.data;
            for (let i = 0; i < d.length; i += 4) {
                if (invertInput.checked) {
                    d[i] = 255 - d[i];
                    d[i + 1] = 255 - d[i + 1];
                    d[i + 2] = 255 - d[i + 2];
                }
                if (grayInput.checked) {
                    const avg = (d[i] + d[i + 1] + d[i + 2]) / 3;
                    d[i] = d[i + 1] = d[i + 2] = avg;
                }
            }
            ctx.putImageData(imageData, 0, 0);
        }

        saveBtn.onclick = () => {
            canvas.toBlob(blob => {
            const link = document.createElement('a');
            link.href = URL.createObjectURL(blob);
            link.download = 'edited.png';
            link.click();
            URL.revokeObjectURL(link.href);
            });
        };
    </script>
</body>
</html>
How to test it:
- Open the HTML file in your browser.
- Choose an image with the file picker.
- Use the range slider to scale it down or up.
- Toggle Invert or Grayscale to apply filters instantly.
- Click Download to save the edited image.
Experiment with it - try different image sizes, apply multiple filters, or extend it with new ones like brightness or contrast.
How It Powers Browser Tools
Canvas is the workhorse behind several Vayce utilities. It’s how we resize, redraw, and export images - all locally, no uploads.
| Tool | How Canvas is used |
|---|---|
| Image Compressor | Scales the bitmap and re-encodes to your target format/quality entirely in the browser. |
| Progressive JPEG Checker | Renders preview frames on canvas; scan analysis comes from parsing JPEG markers client-side (no server). |
| QR Code Generator | Paints vector modules as pixel-perfect squares for crisp PNG export. |
| Image Converter | ecodes the source, redraws to a canvas, and exports in PNG/JPEG/WebP - all client-side. |
These examples show how one API can replace entire categories of server-side utilities.
Final Thoughts
The Canvas API is more than a drawing surface - it’s the browser’s built-in graphics engine. It gives you full control over pixels, transformations, filters, and encoding, turning JavaScript into a local image processing environment.
From charts and editors to converters and compressors, Canvas handles everything from smooth gradients to raw pixel manipulation.
Whether you’re building visual interfaces, editors, converters, or generative tools, Canvas is the foundation. It’s how tools in Vayce can resize, compress, filter, and export images entirely in the browser - with no uploads and no waiting on servers.
For a full reference of every method and property, see the Canvas API documentation on MDN