Pixelate any image with retro palettes & dithering
Pixelation turns an image into big, crisp blocks by shrinking it down and scaling it back up. It’s useful for:
- privacy / censoring (faces, plates, sensitive details)
- retro bitmap art (Game Boy / PICO‑8 / C64 vibes)
- graphic design (chunky mosaics, poster textures)
- thumbnails (simplify busy backgrounds so text pops)
This tool processes a single JPEG/PNG/WebP on your device and adds a “bitmap art” layer on top:
- Pixel Size (block size in pixels)
- Palette (optional color limits for retro looks)
- Dither Amount (optional smoothing for limited-color gradients)
- Effect Strength (mix with the original)
- Surprise me for quick, coherent retro styles
No uploads. No server processing.
Workflow & usage
-
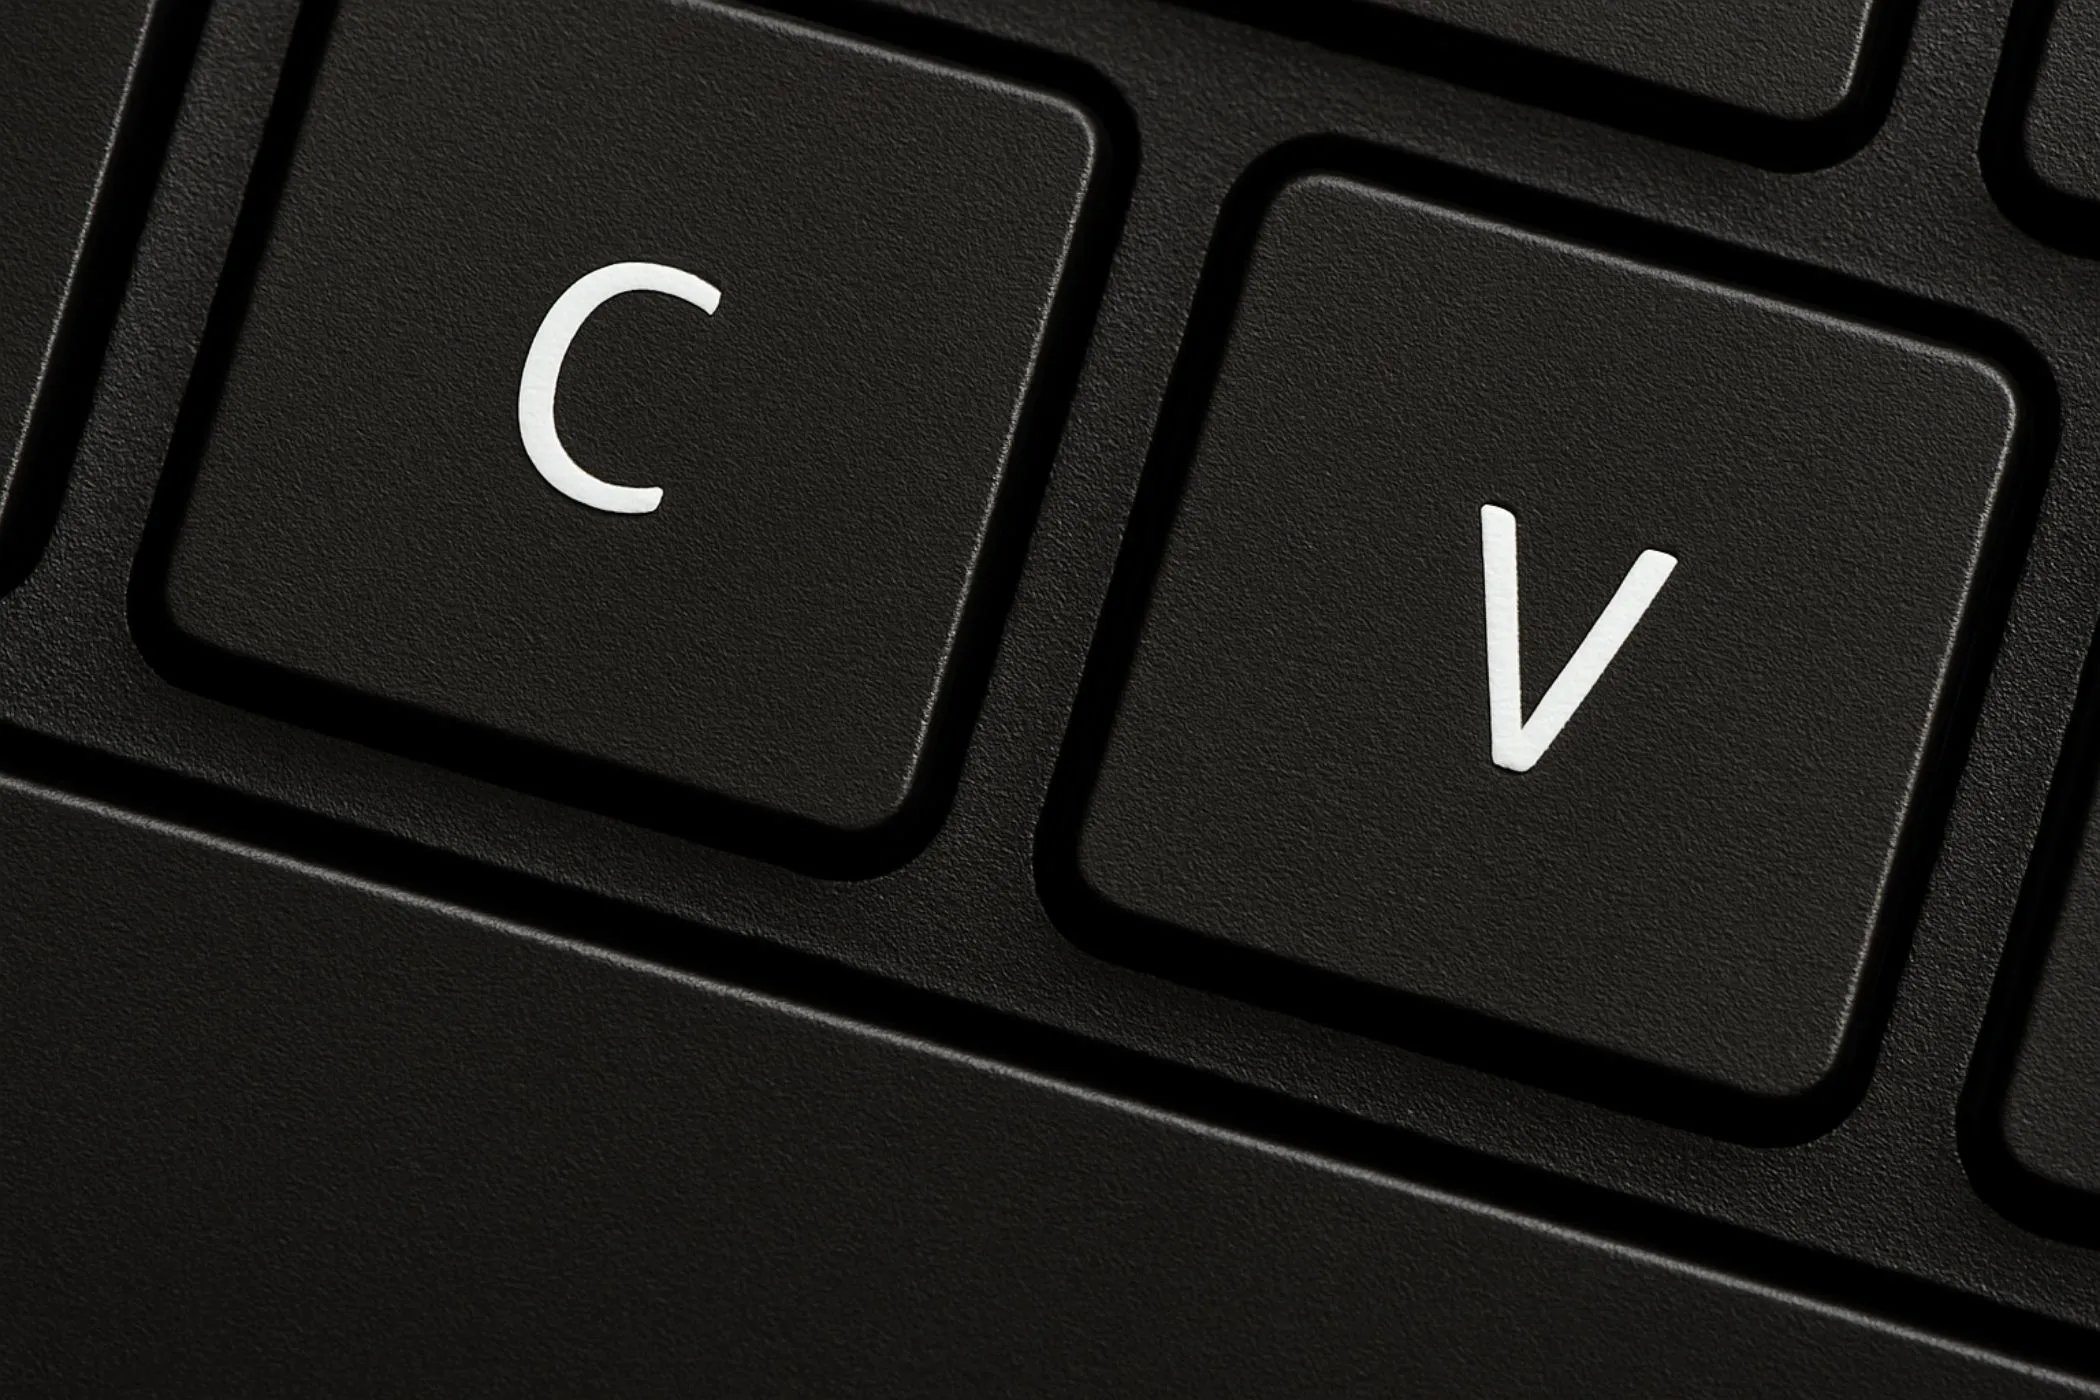
Add an image Drag & drop, click to select, or paste (Ctrl/⌘ + V).
-
Set Pixel Size This is the main “how chunky?” control.
- 3–8: detailed pixel-art feel
- 8–16: classic chunky pixelation
- 16–32: strong mosaic / privacy-friendly
- 32–64: heavy abstraction / censorship
-
Pick a Palette (optional)
- Original Colors = keep unlimited colors (pure pixelation)
- A retro palette = classic limited-color look
-
Tune Dither (optional) If you choose a palette, dithering helps gradients (like skies and skin) look smoother.
-
Adjust Effect Strength Blend pixelation over the original if you want a subtler result.
-
Download Export at full resolution as a PNG.
Pixelation vs blur for privacy
- Blur hides detail, but can sometimes be partially recovered (or guessed) by AI.
- Pixelation destroys detail by reducing resolution, which is generally safer for censorship.
For sensitive info, use larger Pixel Size and 100% Effect Strength.
Tip: If you’re censoring, keep Dither Amount at 0 (dithering can add texture that hints at edges).
Palettes & dithering explained (the “bitmap art” part)
Palettes (limited colors)
A palette forces the image to use only a fixed set of colors. That’s how classic systems got their signature look.
This tool includes options like:
- Game Boy (Pocket / DMG), PICO‑8, Commodore 64
- ANSI / EGA / CGA, ZX Spectrum
- pixel-art favorites like DB16 / DB32, Endesga 32, Sweetie 16
- stylized sets like Sepia, Arctic, Sunset
If you want a clean mosaic, stay on Original Colors. If you want retro bitmap art, pick a palette.
Dithering (smoother gradients with fewer colors)
When you limit colors, gradients can band (hard steps). Dithering adds a controlled pattern to simulate “in-between” shades, which is great for:
- skies, fog, shadows
- portraits and skin tones
- subtle lighting
Rules of thumb:
- 0–10%: mostly clean, light texture
- 10–35%: classic retro shading
- 35–60%: gritty / noisy pixel-art texture
- 60–100%: very stylized, heavy patterning
Controls explained (deep but practical)
1. Palette
- Original Colors (No Limit): pure pixelation, no color reduction.
- Retro palettes: convert your image to a fixed color set for a classic look.
Tip: Start with a recognizable palette (Game Boy, PICO‑8, C64), then adjust Pixel Size before touching dither.
2. Pixel Size
Pixel Size controls the number of blocks by changing the “tiny” version of your image before it’s scaled back up.
- 2–4 px: subtle pixel texture, good for UI backgrounds
- 5–10 px: strong pixel-art character (faces still readable)
- 12–24 px: chunky mosaic (great for thumbnails)
- 24–64 px: heavy abstraction / censorship
Censoring text usually needs larger blocks than censoring faces.
3. Dither Amount
Only applies when you choose a palette.
- 0%: flat, clean, poster-like
- 10–40%: natural shading with retro texture
- 40%+: intentionally noisy / gritty
If your image has smooth gradients (sky, studio background), dithering helps a lot.
4. Effect Strength
Effect Strength blends the pixelated layer over the original:
- 100%: full pixelation / full palette look
- 70–90%: strong stylization while keeping some detail
- 30–70%: subtle “pixel texture” overlay
- 0%: original image
Use this as your “non-destructive” dial: you can keep Pixel Size aggressive and pull back the blend.
5. Surprise me ✨
Surprise Me picks a coherent combination of:
- a retro palette (usually)
- a pixel size that still reads well
- a reasonable dither amount
- 100% strength for a strong look
It’s a fast way to explore styles before fine-tuning.
Quick recipes
Face censor (safe-ish)
- Pixel Size: 24–48
- Palette: Original Colors
- Dither: 0%
- Effect Strength: 100%
Address / ID / small text censor
- Pixel Size: 40–64
- Palette: Original Colors
- Dither: 0%
- Effect Strength: 100%
Game Boy portrait
- Pixel Size: 4–8
- Palette: Game Boy DMG
- Dither: 15–35%
- Effect Strength: 100%
PICO‑8 poster look
- Pixel Size: 6–12
- Palette: PICO‑8
- Dither: 5–20%
- Effect Strength: 100%
Clean limited-color “posterize” vibe
- Pixel Size: 8–16
- Palette: DB16 (or Sweetie 16)
- Dither: 0–10%
- Effect Strength: 100%
Subtle pixel texture for thumbnails
- Pixel Size: 10–18
- Palette: Original Colors
- Effect Strength: 40–75%
Tips for best results
-
Censoring? Go bigger than you think. Small text often needs 40px+.
-
Want true retro? Use a palette. Original Colors can look like a modern mosaic; palettes give it that “hardware-era” identity.
-
Dither is for gradients. If your image is flat colors/logos, dithering can look messy—keep it low or off.
-
Preview vs final The preview is capped for speed; the download runs at full resolution.
-
Optimize after export If you’re posting online, run the PNG through Image Compressor (or convert to WebP) to reduce file size.
How it works
This tool uses a simple, reliable bitmap pipeline:
- Downscale the image to a tiny canvas based on Pixel Size (high-quality averaging for stable colors).
- Optional palette quantization: replace each pixel with the nearest palette color.
- Optional dithering (error diffusion) to preserve shading with fewer colors.
- Upscale back to full size using nearest-neighbor so edges stay crisp.
- Blend the result over the original using Effect Strength.
Because the work happens in your browser, your image never leaves your device.
Troubleshooting
-
It doesn’t look pixelated enough. Increase Pixel Size and set Effect Strength to 100%.
-
The palette looks harsh / banded. Add 10–30% dither (especially for portraits and skies), or try a palette with more colors (DB32 / Endesga 32).
-
It looks too noisy. Lower dither (or set to 0), or choose Original Colors.
-
I want a clean mosaic, not retro. Use Original Colors, keep dither at 0 (disabled anyway), and focus on Pixel Size.
Glossary
- Pixelation / mosaic: reducing detail into blocks by lowering resolution.
- Palette: a fixed list of allowed colors.
- Quantization: mapping each pixel to the nearest palette color.
- Dithering: adding patterned noise to simulate extra shades.
- Nearest-neighbor: scaling method that keeps hard, crisp edges.
- Effect Strength: how much of the effect is blended over the original.