Emboss in One Sentence
Emboss turns an image into a 3D-looking relief by converting brightness changes into a virtual surface and then lighting that surface from a chosen direction.
It’s the fastest way to make something look engraved, stamped, carved, raised, or pressed.
What “Emboss” Actually Means
In the real world, embossing is a physical process: you press material so some parts become raised (embossed) or recessed (debossed). In digital graphics, emboss is the visual equivalent.
A digital emboss effect:
- emphasizes edges and gradients
- turns them into highlights and shadows
- creates the illusion that the image has height
That’s why emboss feels like:
- a coin / stamp
- engraved metal
- carved stone
- bas-relief sculpture
- a raised logo on paper
What You Can Do With This Tool
This emboss tool is made for single-image workflows where you want fast control and clean output:
- Create engraved or carved versions of photos, logos, and textures
- Build 3D-looking UI assets (icons, dividers, panels)
- Make stamped brand marks for packaging mockups
- Generate texture maps (relief-style) for design direction and references
- Add depth and drama to typography and posters
- Create “print-like” looks for editorial and social content
Everything runs locally in your browser — no upload, no waiting, no privacy risk.
Workflow & Usage
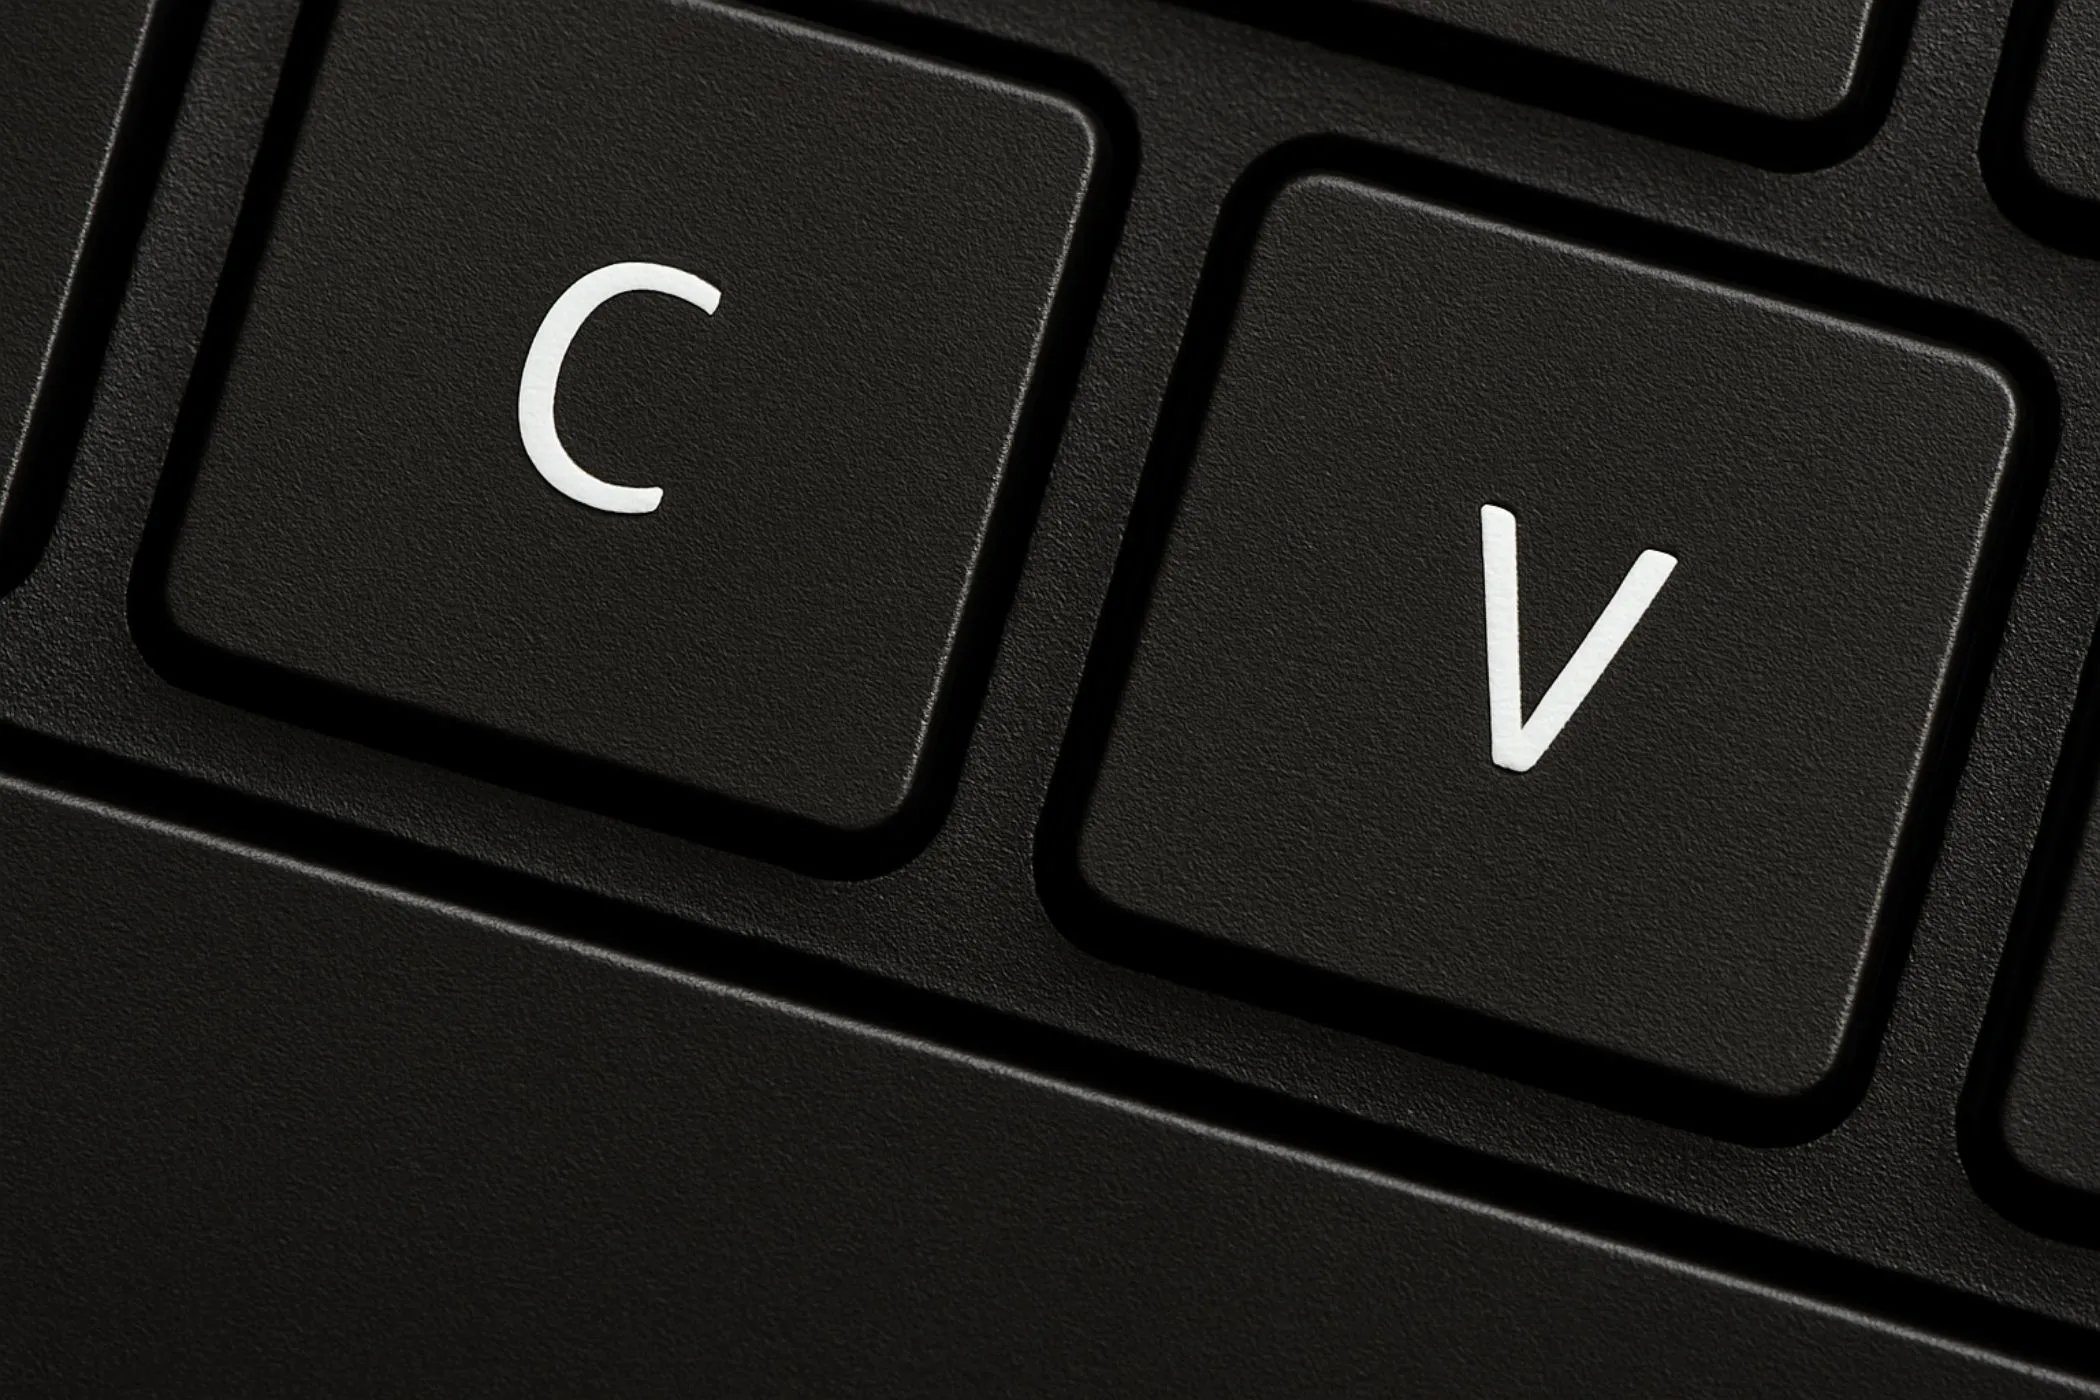
1. Add an image
Drag & drop, paste (Ctrl/⌘+V), or click to select a JPEG / PNG / WebP.
2. Choose your emboss style
Adjust the controls in this order (it’s the quickest path to good results):
- Depth → how strong the relief feels
- Angle → where the light comes from
- Blur → how smooth / clean the surface becomes
- Blend → how much emboss shading mixes into the original
Then decide:
- Keep color on (colored emboss)
- or off (grayscale relief)
If it looks “inside-out”, toggle Invert light/shadow.
3. Download
Export instantly at full resolution. The tool keeps the original format and uses a simple filename like:
my-image-emboss.png
How to Get High-Quality Emboss Results
Use this checklist when you want a clean, professional emboss (especially for logos, icons, and product images).
Start with the right source
- High-contrast images emboss best.
- For photos, clear lighting and distinct shapes work better than flat images.
- If the image is noisy (grainy), use higher Blur.
A “best default” recipe
Try this first:
- Depth: 55–75
- Angle: 120–160°
- Blur: 2–4
- Blend: 70–100
- Keep color: ON for photos, OFF for stamp-like looks
Make it look carved (clean + elegant)
- Increase Blur (3–7)
- Use medium Depth (45–70)
- Keep Blend high
- Turn Keep color OFF for a classic bas-relief look
Make it look stamped (bold edges)
- Higher Depth (70–95)
- Lower Blur (0–2)
- Keep Blend high
- Consider Invert if the stamp reads wrong
Make text readable
Emboss can destroy readability if the relief is too strong.
- Reduce Depth
- Increase Blur slightly
- Reduce Blend (try 50–80)
- Try a different Angle (diagonal light often reads best)
When it looks “reversed”
If raised areas look recessed:
- Toggle Invert light/shadow
- Or rotate Angle by ~180°
Understanding the Controls (What They Actually Change)
Depth
Depth controls how strongly changes in brightness become changes in “surface height.”
- Low depth: subtle, polished, almost like soft bevel
- Medium depth: clean relief that still preserves detail
- High depth: dramatic, sharp edges and strong highlights/shadows
If the result looks too harsh or noisy, depth is usually the first thing to lower.
Angle (Light Direction)
Angle controls where the virtual light source is coming from.
Why it matters: the exact same image can look raised or recessed depending on the lighting direction.
Quick intuition:
- Diagonal angles often look most natural.
- Changing angle can reveal different edge directions (horizontal vs vertical structure).
Blur (Smoothing)
Blur smooths the internal height map before shading.
Use blur to:
- reduce grain/noise
- turn “busy” textures into smoother carved surfaces
- avoid harsh pixel-level embossing on photos
As a rule:
- Logos / vector-like art: low blur
- Photos / textures: medium blur
Blend
Blend mixes the emboss shading with the original.
- 100% blend: strong emboss look
- 50–80% blend: more photographic, subtle relief
- 0% blend: no effect
Blend is the fastest way to make emboss “tasteful.”
Keep color
- ON: color stays; emboss shading is applied like a lighting layer
- OFF: grayscale relief map look (classic engraved / bas-relief)
For brand marks, OFF often looks more like a stamp/engrave. For photos, ON keeps the image recognizable.
Invert light/shadow
Invert flips the light direction (highlights become shadows). This is helpful when the relief reads wrong.
What Is Emboss Used For?
1. Logos that look stamped or engraved
Emboss can turn a flat logo into something that feels physical:
- stamped paper
- embossed leather
- engraved metal
- etched glass
Use: moderate blur, medium depth, high blend.
2. UI and product mockups
Emboss is perfect for quick mockups that suggest material and depth:
- app icons / buttons
- interface panels
- “pressed” or “raised” controls
- packaging previews
Use: subtle depth and controlled blend.
3. Textures and backgrounds
Emboss can make patterns feel tactile:
- fabric-like textures
- paper grain
- stone / plaster impressions
Use: increase blur to avoid noisy artifacts.
4. Photography and editorial style
A light emboss can add structure to an image without making it look like a filter:
- architectural shots
- portraits (very subtle)
- high-contrast street scenes
Use: lower depth, lower blend, moderate blur.
5. Print-style effects (de-boss / raised ink feel)
Even when you’re publishing digitally, emboss can imply print finishes:
- business cards
- book covers
- stationery
Use: grayscale emboss, clean blur, carefully chosen angle.
How It Works (Conceptually)
Emboss is essentially a three-step illusion:
-
Create a height map
The image is treated like a surface where brightness corresponds to height. -
Find slopes (edges)
The tool measures how the height changes across pixels — that’s what creates the “relief.” -
Light the surface
A virtual light direction is applied. Surfaces facing the light become brighter; surfaces facing away become darker.
Finally, the shading is blended into the original (or output as a grayscale relief).
Tips for Different Styles
Subtle “bevel” look (clean UI)
- Depth: 20–45
- Blur: 2–5
- Blend: 40–70
- Keep color: ON
Strong “engraved” look
- Depth: 60–90
- Blur: 3–7
- Blend: 80–100
- Keep color: OFF
Sharp “comic relief” edges
- Depth: 80–100
- Blur: 0–2
- Blend: 100
- Keep color: ON or OFF
Texture enhancement (make patterns pop)
- Depth: 40–70
- Blur: 4–8
- Blend: 50–90
Common Problems (Quick Fixes)
“It looks noisy or gritty.”
Increase Blur, lower Depth, or lower Blend.
“It looks flat.”
Increase Depth or raise Blend.
“It looks inside-out.”
Toggle Invert or rotate Angle by ~180°.
“Edges are too harsh.”
Increase Blur a bit and reduce Depth.
“Text became hard to read.”
Lower Depth, raise Blur, reduce Blend, and try a different Angle.