Curves in One Sentence
Curves is the most powerful “make it look right” tool: shape a tone curve for better contrast and exposure, optionally grade color with R/G/B curves, blend with Mix, and export at full resolution — all in your browser.
When Curves Is the Right Tool
Use Curves when your image needs more than basic sliders:
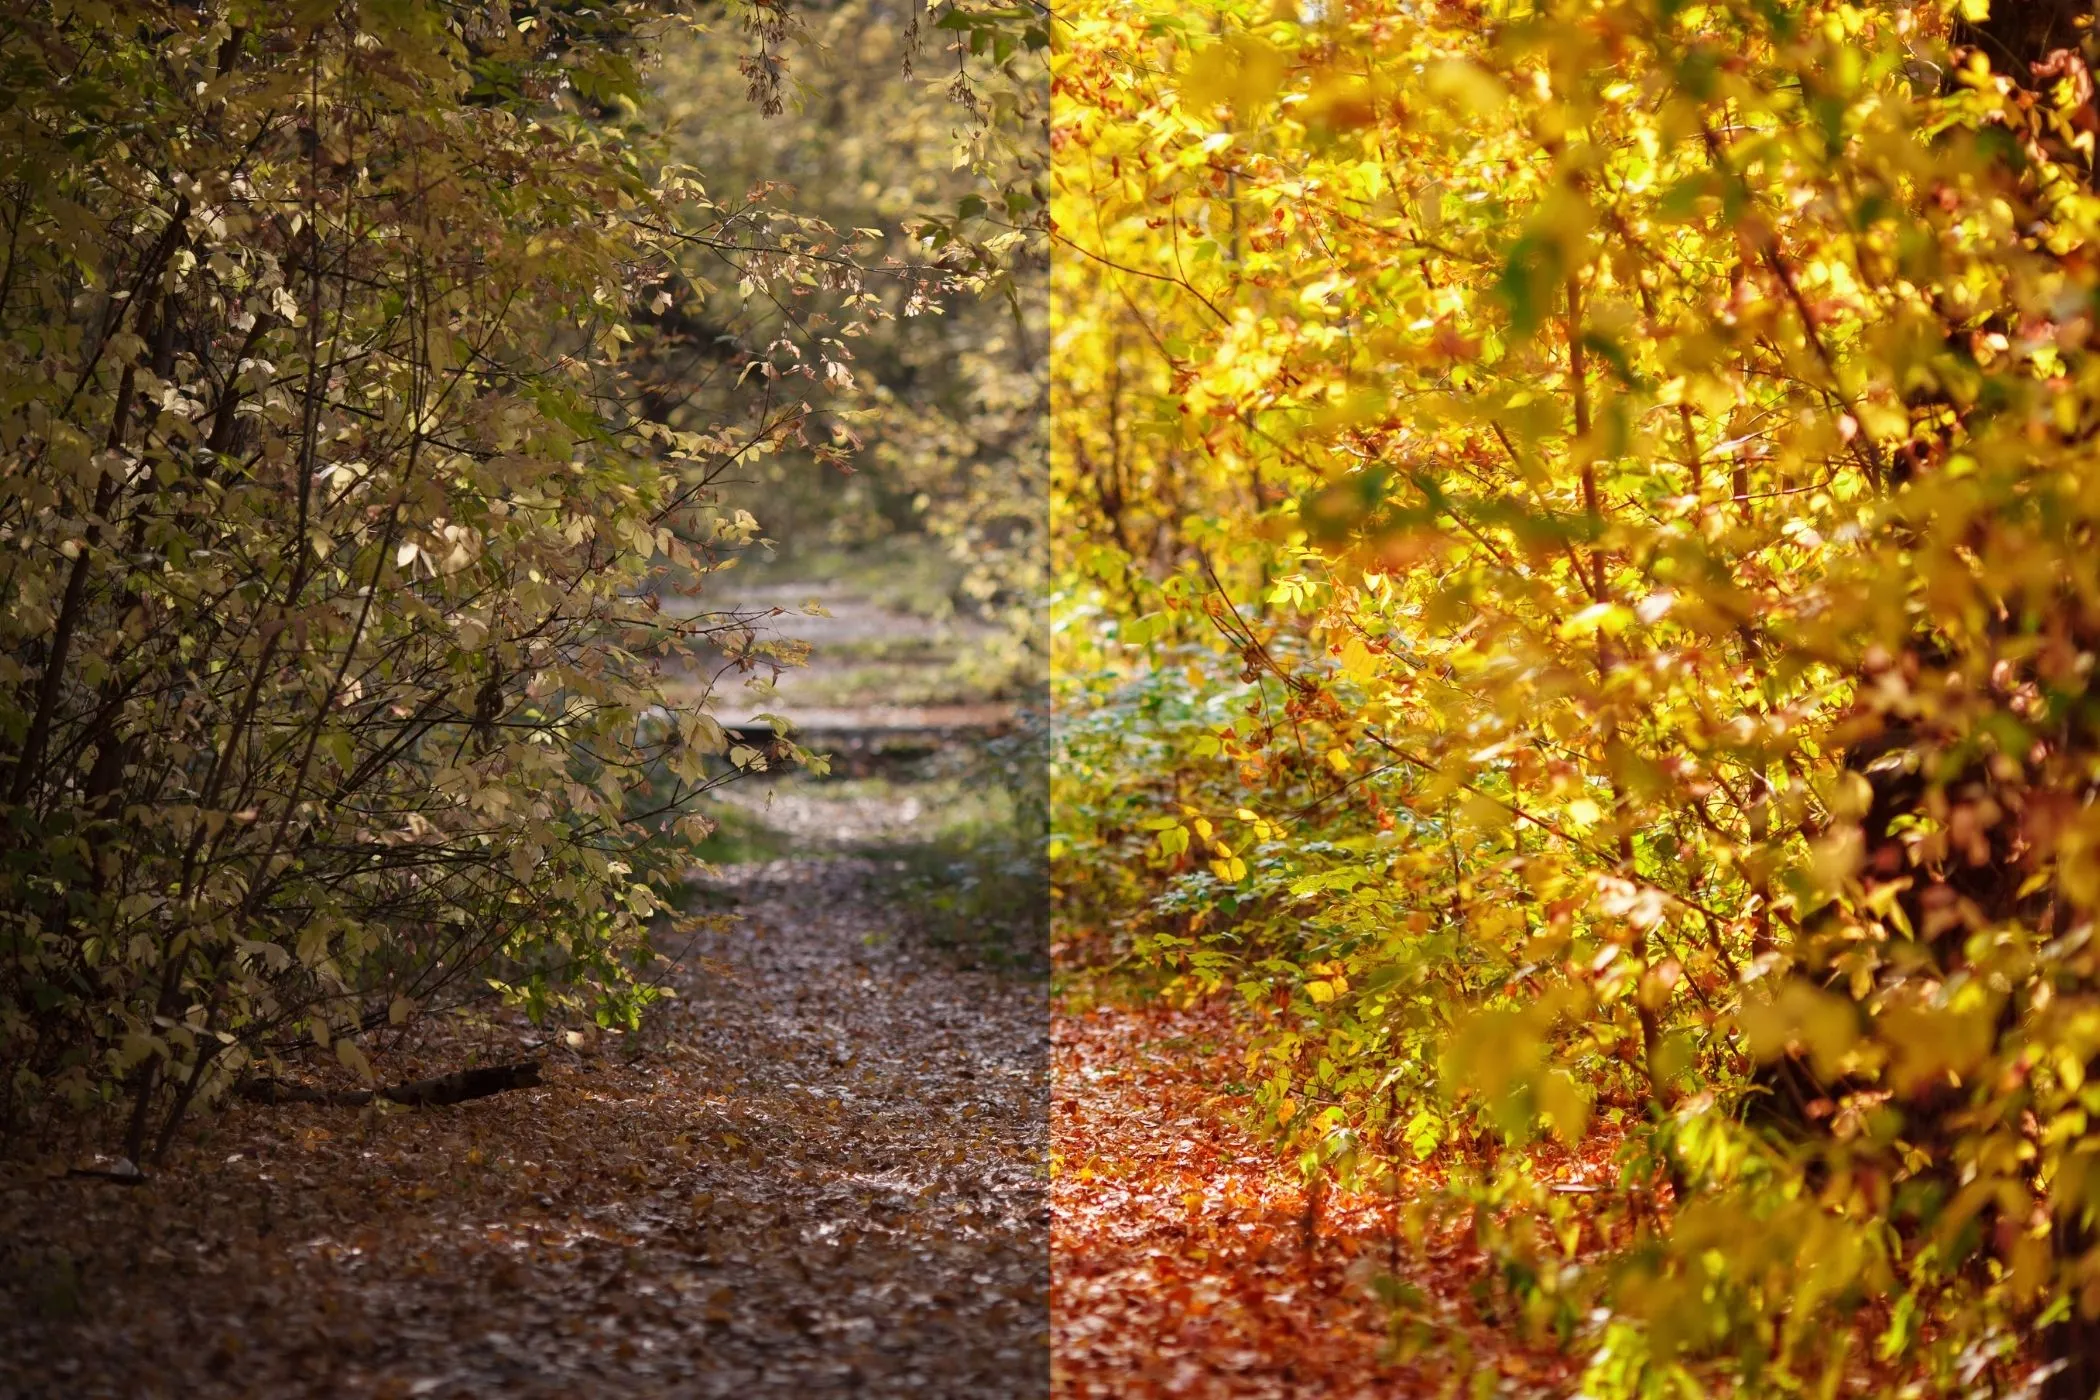
- Low contrast photos that feel flat or hazy
- Shadows are muddy but highlights are fine
- Highlights are harsh but shadows are fine
- You want a filmic S‑curve (punchy midtones, gentle extremes)
- You want a matte / faded look (lift blacks)
- You want color grading (warm highlights, cool shadows, teal/orange vibes)
Curves is also a great finishing step for:
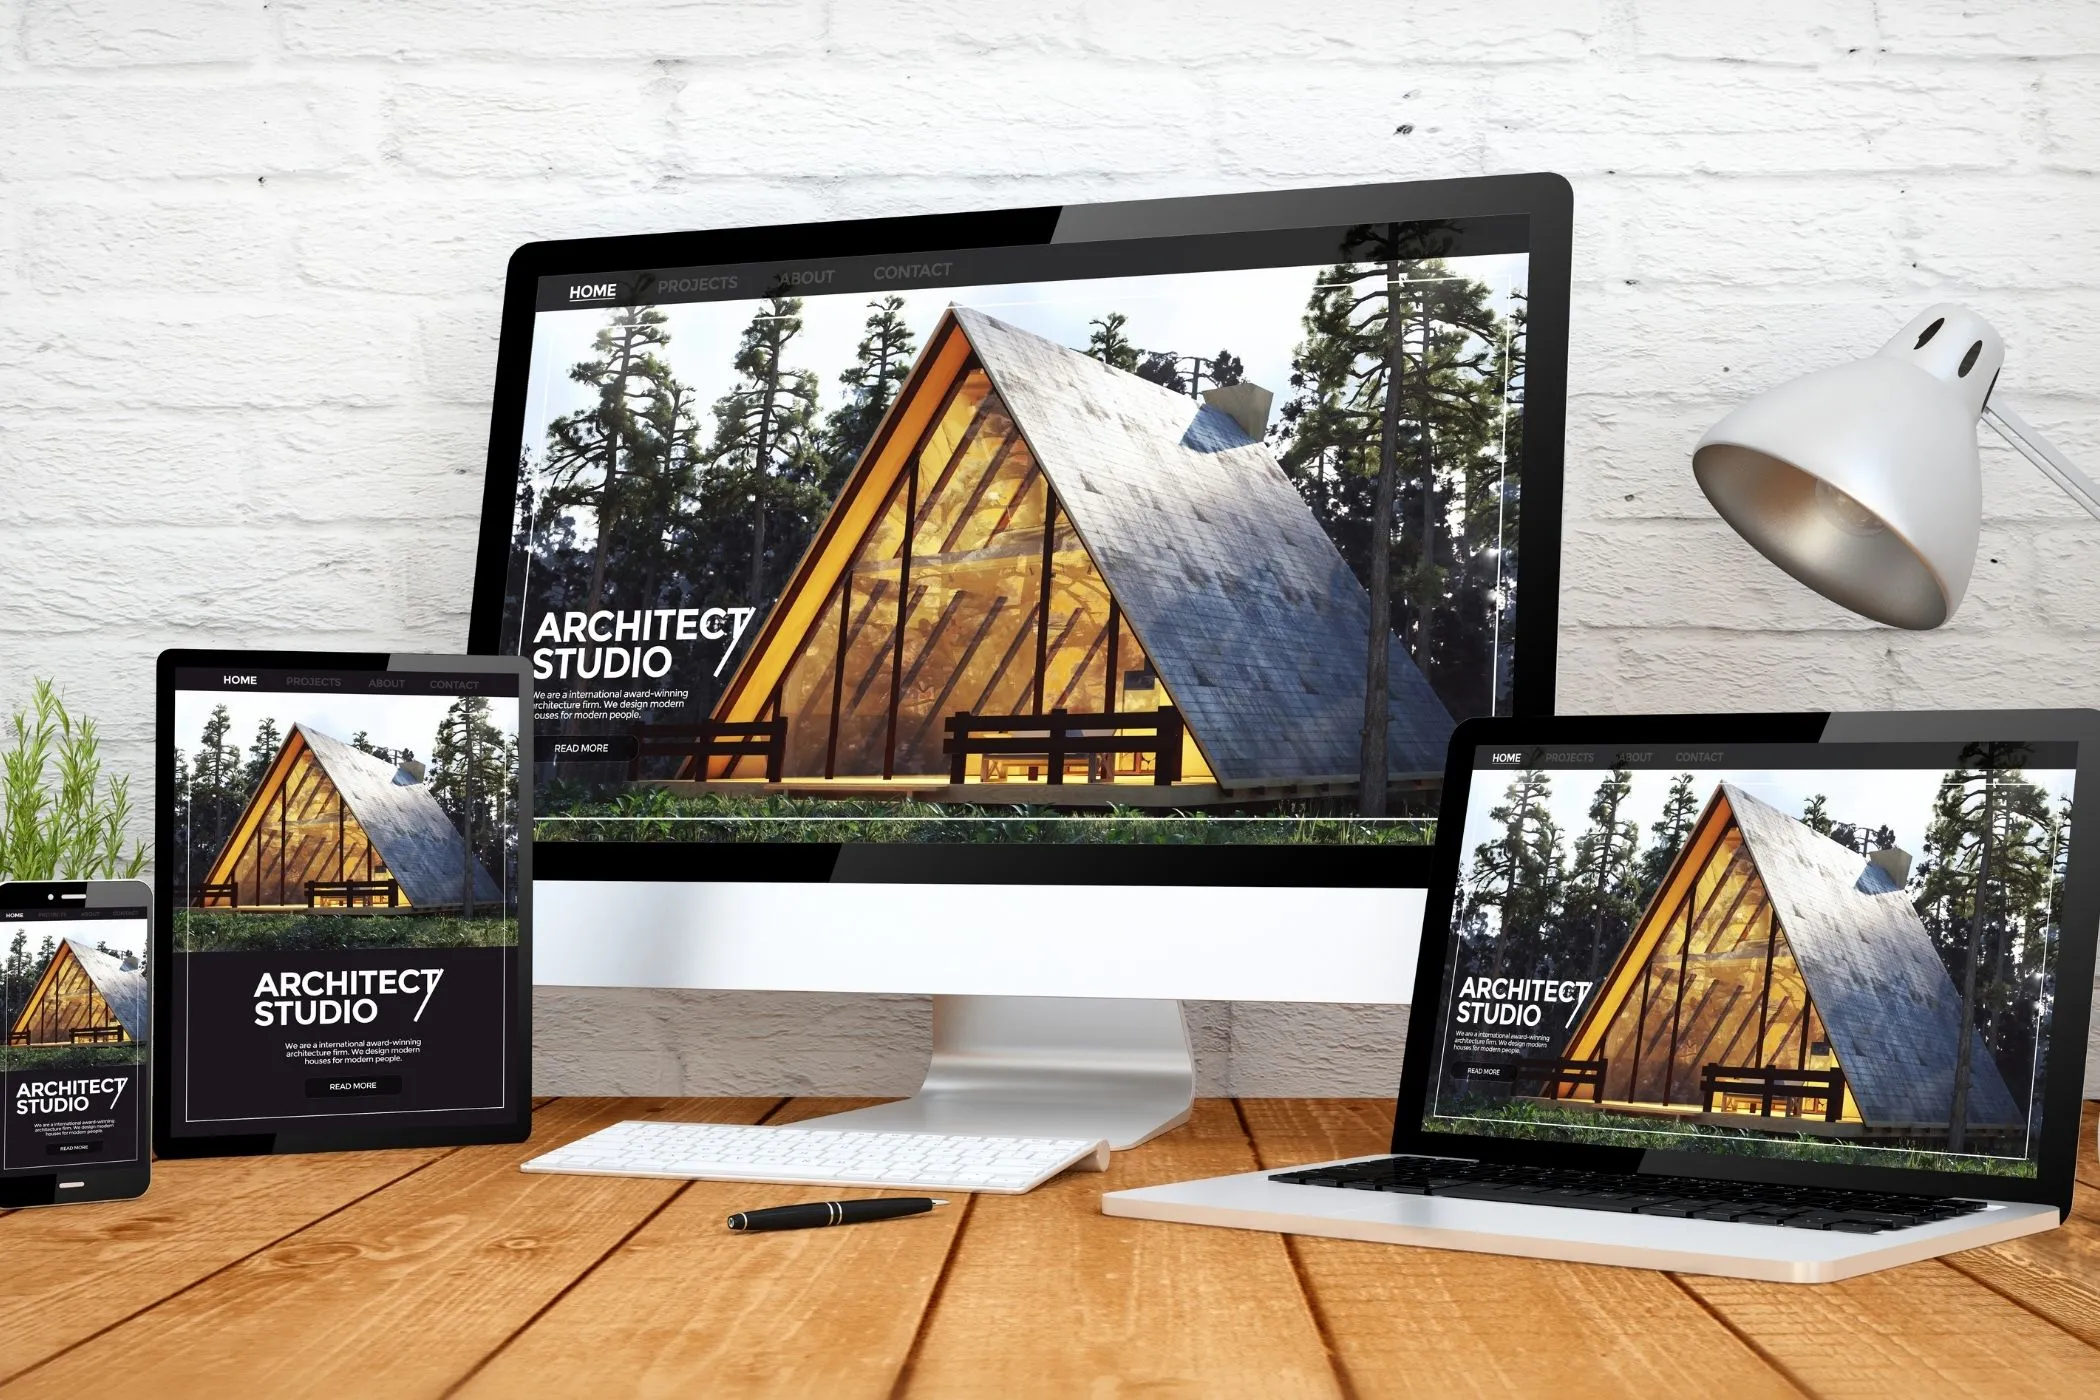
- hero images / blog headers
- product photos
- portraits
- thumbnails and social posts
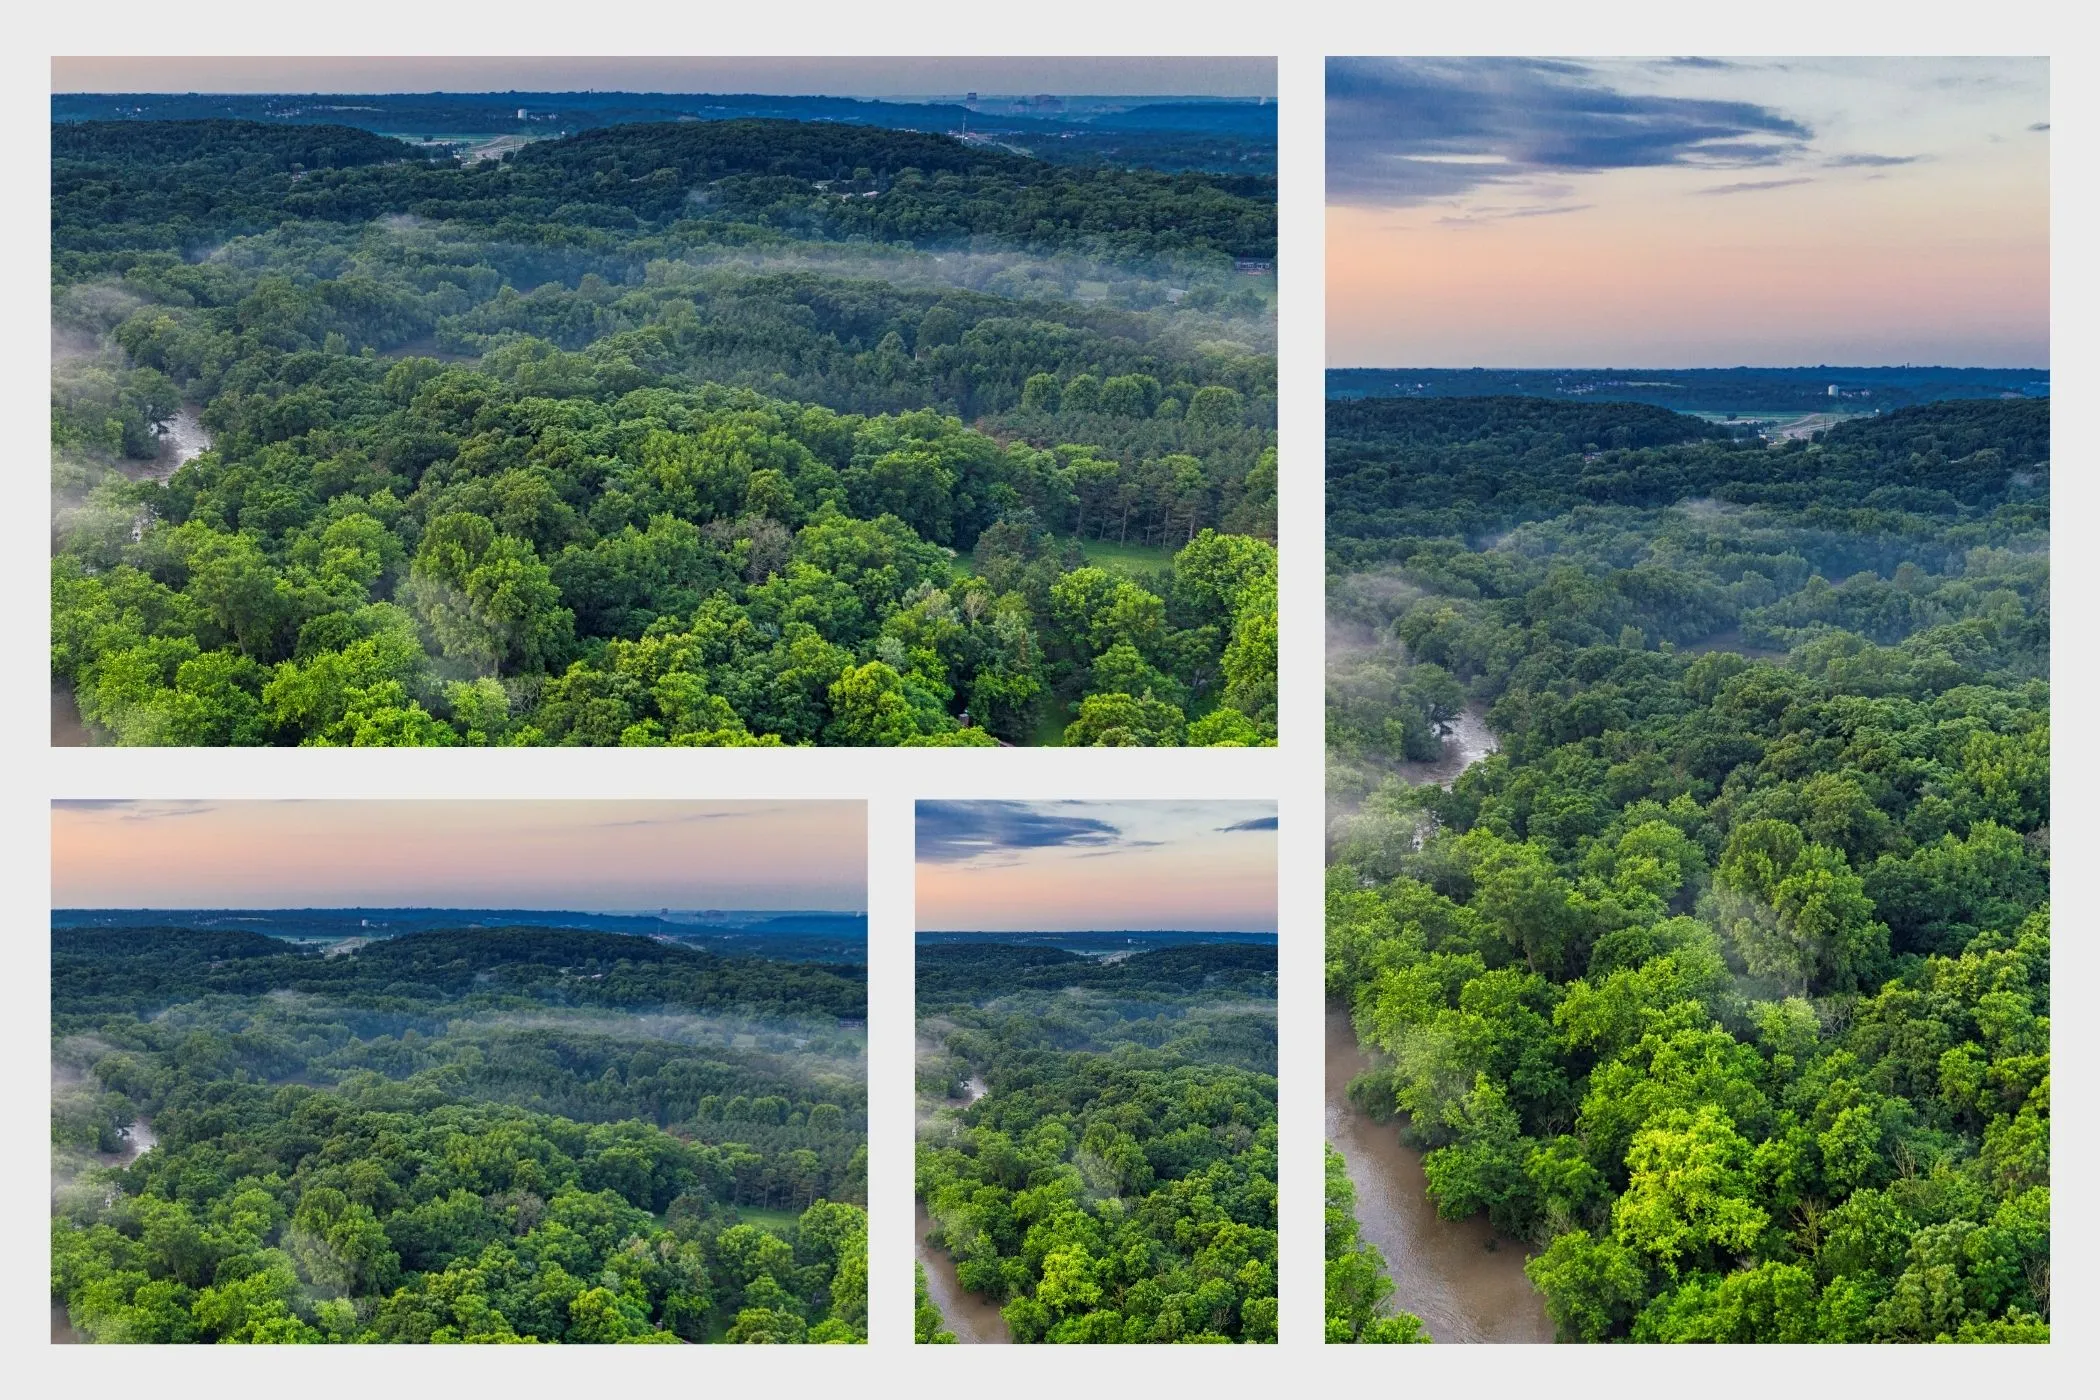
- creating a consistent style across a set
Everything runs locally — no uploads, no queues, no waiting.
Workflow & Usage
1. Add an image
Drag & drop, paste (Ctrl/⌘+V), or click to select a JPEG / PNG / WebP.
2. Start with RGB (main curve)
Most of the time, the best workflow is:
- RGB curve → set contrast / exposure feel
- Mix → blend the effect back (keep it natural)
- Optional: R / G / B curves → correct casts or grade color
- Optional: Preserve Luma → keep brightness more consistent while grading
3. Edit the curve (quick controls)
- Click on the graph to add a point
- Drag a point to reshape the curve
- Double‑click a point (not the endpoints) to remove it
Tip: Make small moves first. Curves is powerful — small changes can look premium.
4. Try Surprise Me (optional)
Click Surprise me ✨ for a variety of pleasing looks (subtle S‑curve, matte lift, highlight protection, gentle color grades). It uses smart preset “seeds” plus jitter so it doesn’t feel repetitive.
5. Download
Export full resolution in the original format. Filenames include your settings, e.g.
photo-curves-m085-lp1.jpg
Understanding Curves (Without the Jargon)
A curve maps Input brightness → Output brightness.
- Left side of the graph = shadows / blacks
- Middle = midtones
- Right side = highlights / whites
The diagonal line is “no change.”
The most useful shapes
Gentle S‑curve (clean contrast)
- Pull shadows slightly down
- Push highlights slightly up
- Keep midtones near the center
This increases separation in midtones while keeping extremes smooth.
Matte / lifted blacks
- Lift the left endpoint (blacks aren’t pure black)
- Optionally compress highlights slightly
This creates a modern “fade” look.
Protect highlights
- Keep highlights from blowing out by flattening the top-right area
Great for skies, white clothing, shiny products.
Channels: RGB vs R/G/B
RGB (master)
Use RGB for contrast/exposure style without changing color balance much.
Red / Green / Blue (grading)
Use channel curves for:
- removing a color cast (too warm/cool/green/magenta)
- cinematic grading (cool shadows + warm highlights)
- creative looks (stylized palettes)
Rule of thumb: channel curves are best in small doses + Mix.
Mix
Mix blends the curved result with the original:
- 100% = full effect
- 60–90% = usually the sweet spot for natural edits
- 30–60% = subtle “finish” without looking edited
Mix is your safety net — if a curve is a bit too strong, lower Mix instead of fighting the curve.
Preserve Luma
When you grade with R/G/B curves, brightness can shift in a way that feels like exposure changed.
Enable Preserve Luma to keep brightness closer to the original while changing color.
Use it when:
- skin tones look good but the image suddenly feels darker/brighter
- you want a grade that feels “color-only”
- you’re editing graphics/logos and want consistent lightness
Quick Recipes
These are starting points. Every photo is different.
1. Fast “clean contrast” S‑curve
- On RGB, add a point near 25% and pull it slightly down
- Add a point near 75% and push it slightly up
- Set Mix 75–95%
2. Matte / faded film
- On RGB, lift the left side (blacks)
- Slightly lift midtones
- Slightly compress the top highlights
- Set Mix 65–90%
3. Lift shadows (keep highlights)
- On RGB, add a point near 15–30% and push it up
- Keep the top-right region close to the diagonal
Great for interiors and portraits.
4. Protect highlights (reduce harsh whites)
- On RGB, flatten the curve slightly in the 80–100% area
- Keep shadows mostly unchanged
Great for skies, wedding photos, product shots.
5. Warm highlights / cool shadows (cinematic)
- Build a gentle RGB S‑curve first
- On Red, push up highlights slightly
- On Blue, lift shadows slightly
- Enable Preserve Luma
- Set Mix 55–85%
Best Practices
1. Work in small steps
Curves is sensitive. A tiny move can be enough.
2. Avoid extreme bends
Sharp angles can cause banding or “crunchy” transitions — especially on gradients.
3. Use RGB first, channels second
Get contrast/exposure right with RGB, then grade with R/G/B.
4. Use Mix to keep it natural
If a look is close but too strong, lower Mix instead of remaking the curve.
5. Preserve luma for grading
If color curves make brightness feel wrong, toggle Preserve Luma.
Common Problems and Fixes
“It looks too harsh / crunchy.”
- Reduce curve intensity (less extreme S)
- Lower Mix
- Avoid steep bends near shadows/highlights
“Shadows are crushed (lost detail).”
- Lift the lower-left region slightly
- Reduce the downward pull in shadows
“Highlights are blown out.”
- Flatten the top-right region
- Reduce the upward push in highlights
“My colors look weird after grading.”
- Reduce channel curve strength
- Enable Preserve Luma
- Lower Mix
“I can’t get a consistent look across multiple images.”
- Create one good RGB curve
- Keep channel curves subtle
- Use the same Mix range (e.g., 80%) for the whole set
How It Works
To keep the tool fast and consistent, it builds a look-up table (LUT) for each channel.
- Your curve points define an input → output mapping from 0–255.
- The tool generates smooth curve LUTs for:
- RGB (master)
- R / G / B (per-channel)
- Each pixel is processed like this:
- apply the master RGB LUT
- apply the selected channel LUTs
- optionally preserve brightness (luma) while grading
- blend with the original using Mix
Preview is rendered with a size cap for speed, while Download exports at full resolution.