Color Balance in One Sentence
Color Balance lets you neutralize unwanted color casts (too blue, too yellow, too green, too magenta) by shifting the Red / Green / Blue channels — with a live preview and full-res export.
When This Tool Is the Right Choice
Use RGB Color Balance when:
- a photo looks too blue (cold/clinical)
- indoor lighting makes skin look yellow/green
- shadows feel magenta or highlights feel cyan
- you want a quick warm / cool “film-ish” look
- you’re editing graphics and need a fast global recolor without masks
If you need super realistic white balance, a Temperature/Tint tool can feel more “camera-correct.” But for quick fixes and creative grading, RGB balance is hard to beat.
How to Use
1. Add an image
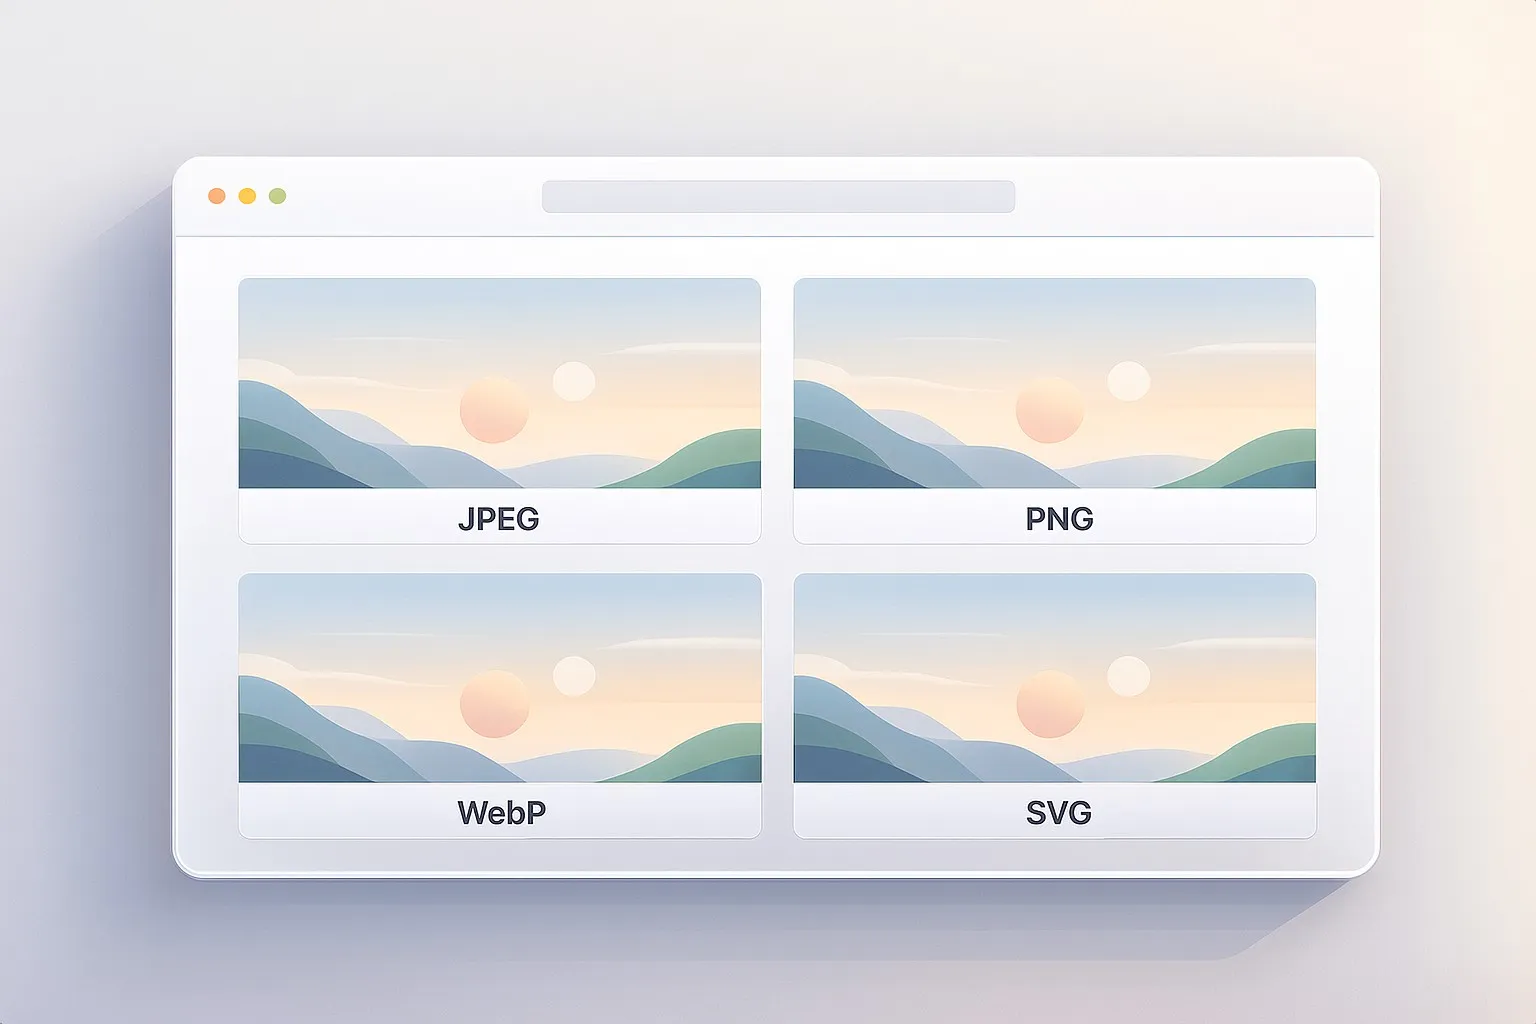
Drag & drop, paste (Ctrl/⌘+V), or click to select a JPEG / PNG / WebP.
2. Adjust channels (small moves first)
- Red: add warmth / reduce cyan
- Green: add “fluorescent” green / reduce magenta
- Blue: add coolness / reduce yellow
3. Try Surprise Me
Click Surprise me ✨ for a variety of cast fixes and film-like looks. It uses smart preset “seeds” plus jitter so it doesn’t feel repetitive.
4. Download
Export full resolution in the original format. Filenames include your settings, e.g.
photo-color-balance-r15_g10_b-12.jpg
Understanding RGB Shifts
Each slider shifts a channel globally:
- Positive (+) adds that color to every pixel
- Negative (–) removes that color from every pixel
This is a simple, powerful model — and it’s why small values can make a big difference.
Quick mental model
- Too blue? reduce Blue (–B) or add Red/Green (+R/+G)
- Too yellow? reduce Red and/or Green (–R/–G) or add Blue (+B)
- Too green? reduce Green (–G) or add Magenta via +R/+B
- Too magenta? reduce Red and/or Blue (–R/–B) or add Green (+G)
Fast Cast Fixes (Starter Settings)
These aren’t “one size fits all,” but they’re reliable starting points.
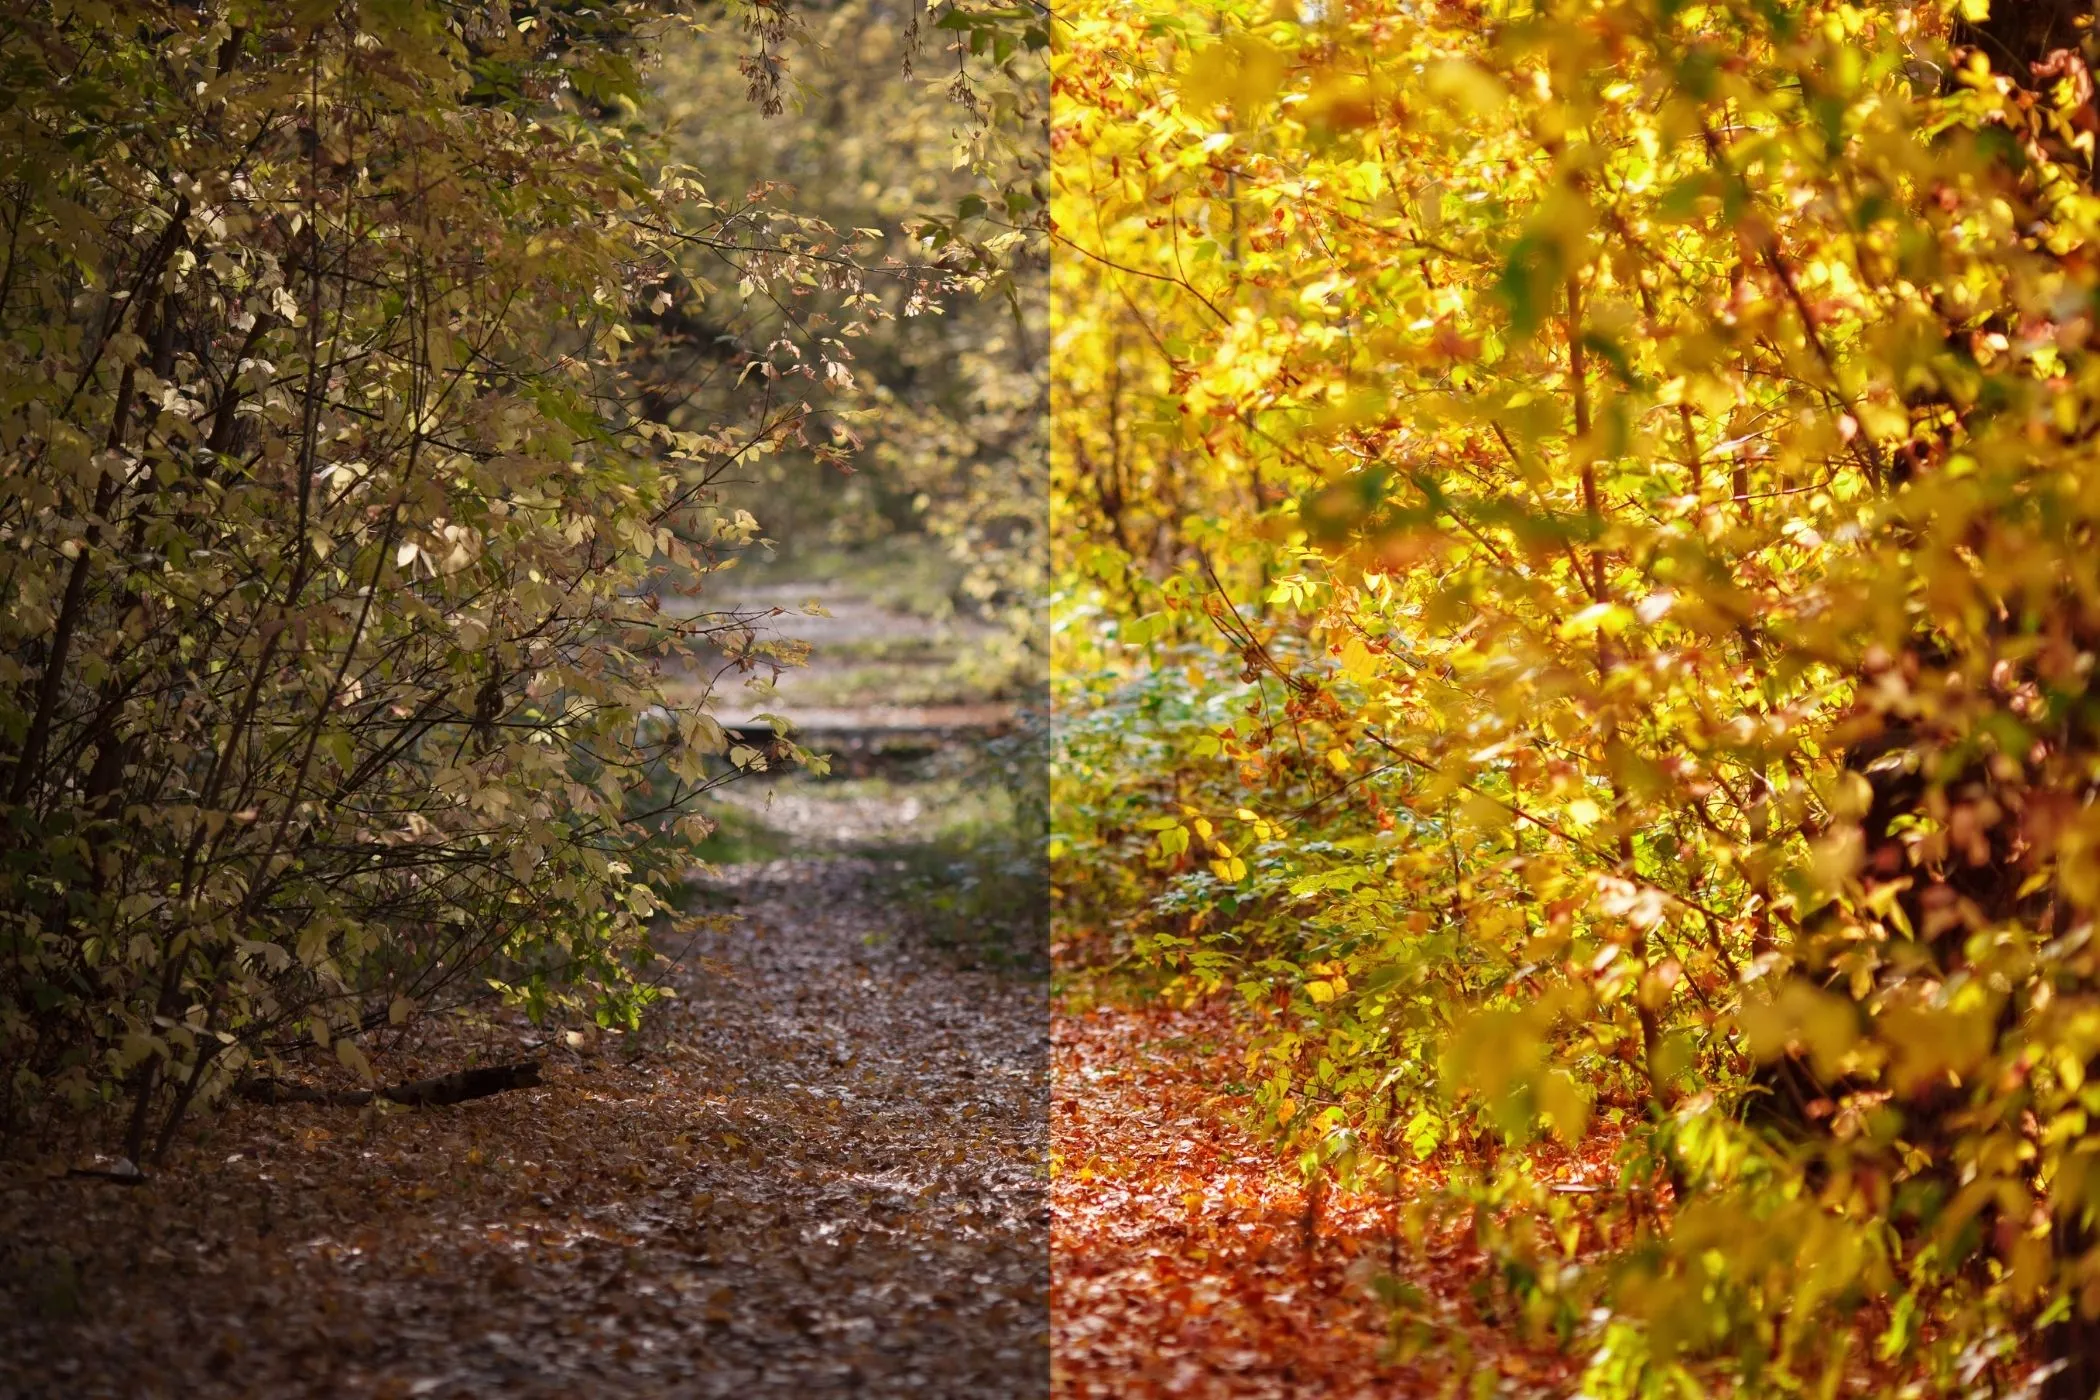
Neutralize a blue cast (cold/clinical)
- Red: +8 to +20
- Green: +3 to +12
- Blue: –10 to –30
Neutralize a yellow cast (warm/orange)
- Red: –8 to –25
- Green: –5 to –18
- Blue: +5 to +18
Fluorescent green fix (sickly indoor light)
- Green: –10 to –35
- Red: +5 to +18
- Blue: 0 to +12
Magenta fix (pink/purple shadows)
- Green: +8 to +25
- Red: –5 to –15
- Blue: –5 to –15
Better skin tones (gentle portrait correction)
- Red: +10 to +30
- Green: 0 to +10
- Blue: –5 to –18
Creative Looks (Fast Recipes)
Warm film
- Red: +10 to +25
- Green: +5 to +18
- Blue: –8 to –18
Cool film
- Red: –10 to +8
- Green: 0 to +12
- Blue: +10 to +30
Vintage fade (warm + slightly muted)
- Red: +10 to +25
- Green: –5 to –18
- Blue: –5 to –18
Golden hour vibe
- Red: +15 to +40
- Green: +5 to +20
- Blue: –8 to –22
Best Practices
1. Work in small steps
Most real cast fixes are within ±5 to ±25 per channel. Go bigger only if you want a stylized look.
2. Watch for clipping
Extreme shifts can clip channels:
- highlights can lose detail (flat white patches)
- shadows can lose texture (muddy blacks)
If that happens:
- reduce the largest shift first
- compensate using the other channels (e.g., instead of –40 Blue, try –20 Blue and +10 Red)
3. Don’t chase perfection with only one slider
Color casts usually live across multiple channels. A balanced fix often uses two channels (e.g., +R and –B) instead of one extreme.
4. Finish with contrast if needed
Color balance can change perceived contrast. If your image starts to feel flat after correction, follow up with:
- Levels (more control)
- Brightness & Contrast (fast cleanup)
Common Problems and Fixes
“My whites look tinted.”
- Reduce the strongest channel shift
- Make a smaller correction in the opposite direction on a second channel
“It looks too neon / artificial.”
- Bring shifts closer to zero
- Try Surprise Me again, then reduce intensity manually
“Skin tones look off.”
- Keep Blue reduction modest (too much –B can look orange)
- Try +R with a small +G instead of big –B
How It Works
This tool draws your image to a canvas, reads pixel data, then applies a simple per-pixel adjustment:
R = clamp(R + rShift)G = clamp(G + gShift)B = clamp(B + bShift)
Values are clamped to the valid 0–255 range, and alpha is preserved.
Preview is rendered with a size cap for speed, while Download exports at full resolution.