How to Speed Up Your Site Using Progressive JPEGs
Learn what progressive JPEGs really do, why they make images feel faster, and how to create and audit them directly in your browser - no uploads required.
Sat Oct 18 2025 • 5 min read
When you open a web page with large photos, you notice one of two things: either the images appear instantly - blurry at first but quickly sharpening - or they crawl down the page, revealing themselves line by line.
That difference has nothing to do with your connection. It’s about how the JPEG was encoded.
What Are Progressive JPEGs and Why They’re Different
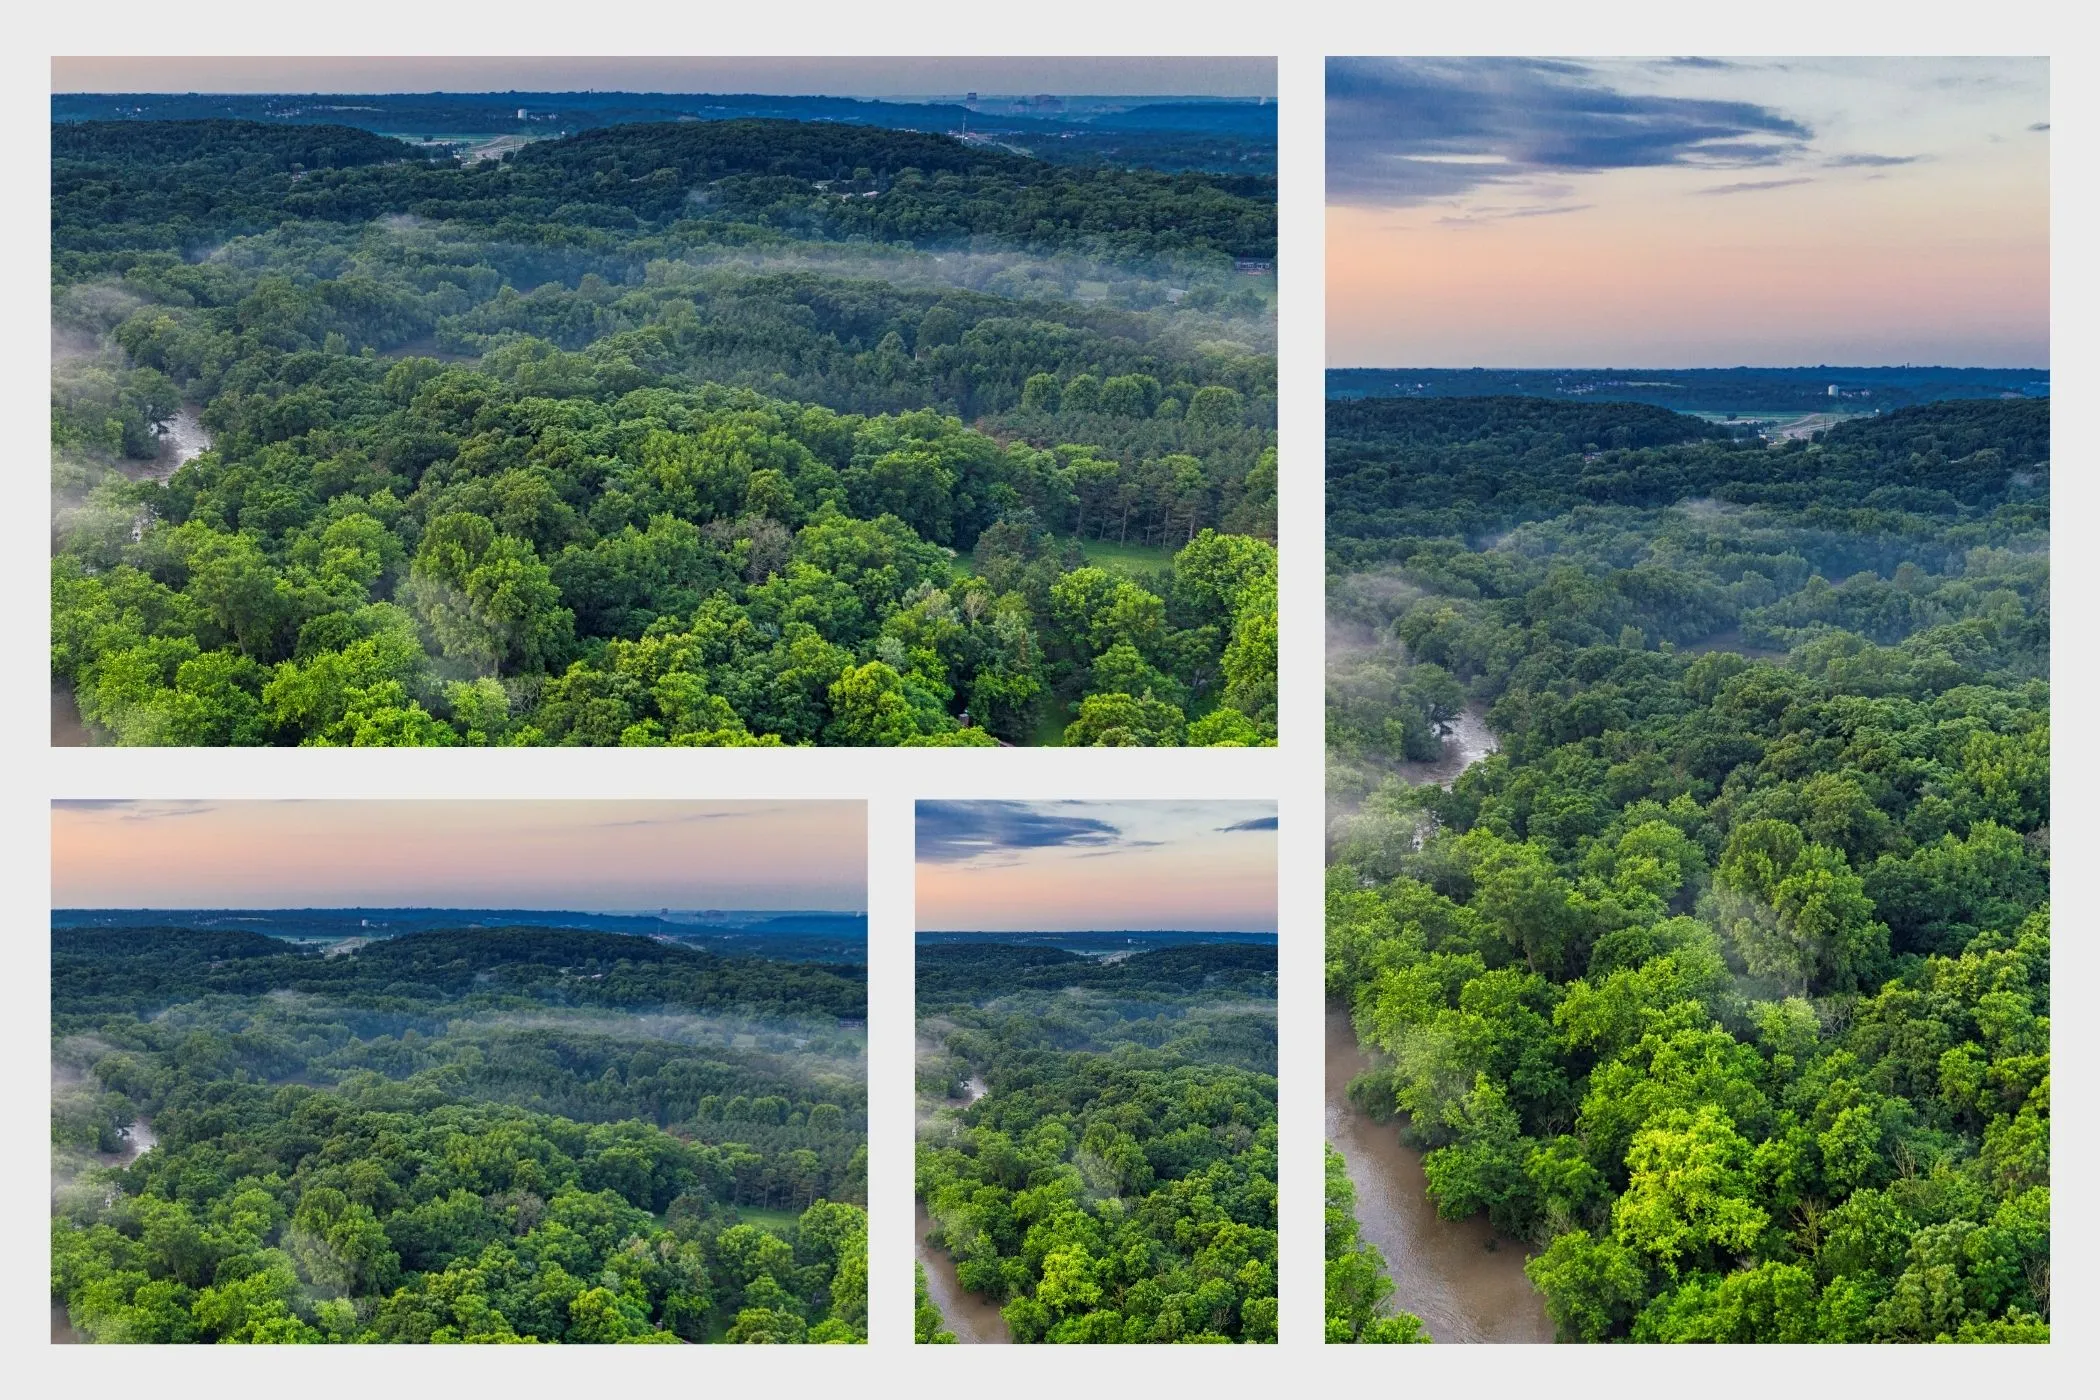
A progressive JPEG is a standard JPEG saved in a smarter way. Instead of encoding the picture in one long stream of data (from top to bottom), it breaks it into multiple scans - each one adding detail to the entire image.
This means:
- The browser can show a complete but fuzzy image early in the download.
- Each new scan refines colors and texture.
- Users see the whole picture long before all the bytes arrive.
A baseline JPEG, on the other hand, stores everything sequentially. The browser must receive most of the file before anything meaningful appears - so you might see a white box or half an image for a few seconds.
Both formats end up identical when fully loaded. The difference lies in how they arrive on screen.
You can think of it like sketching:
- Baseline = drawing one corner perfectly, then moving down line by line.
- Progressive = rough sketch of the whole scene first, then refining it everywhere.
Why JPEGs Work the Way They Do
To understand why “progressive” matters, it helps to peek inside how JPEGs store data.
Every JPEG is a series of scans - chunks of compressed information that describe brightness and color in blocks called DCT coefficients. A baseline JPEG arranges those scans from top to bottom: the browser needs to receive a large portion of the file before it can draw anything meaningful.
A progressive JPEG, by contrast, sends multiple passes of the entire image:
- The first scan contains coarse brightness data - enough to form a fuzzy preview.
- The next adds more frequency details.
- Each additional scan refines texture and color.
Because the image fills the same space from the start, users perceive the page as loading faster - even when the file size is identical.
Baseline vs Progressive
| Pattern | Baseline JPEG | Progressive JPEG |
|---|---|---|
| Loading style | Appears from top to bottom | Appears all at once, then sharpens |
| First visual feedback | Late | Immediate (low detail first) |
| Typical scans | 1 | 3–12 |
| Perceived speed | Slower | Faster |
| Browser support | Universal | Universal (except some legacy mail clients) |
You can think of it like buffering a video: progressive JPEGs show the whole frame early, not just the first slice.
Why Perceived Speed Is Real Speed
Web performance isn’t just about bytes - it’s about perception.
When users see a blank space or a half-loaded photo, they assume the site is slow. Our brains judge speed visually, not technically.
A page that shows progress feels alive and responsive, while a static, empty screen feels broken. That’s why a blurry image appearing early often outperforms a crystal-clear one that shows up late.
Progressive JPEGs take advantage of that effect. By revealing an image in gradual layers of detail, they create the sense of motion and responsiveness that keeps users engaged.
They also improve key visual metrics:
- Largest Contentful Paint (LCP): because the main image area paints earlier.
- Cumulative Layout Shift (CLS): because the browser knows the image’s dimensions and doesn’t shift layout later.
- User engagement: because color fills the viewport immediately.
Even though network transfer time hasn’t changed, the experience of waiting has - and that’s the kind of optimization users actually feel.
How Browsers Render Progressive JPEGs
Modern browsers decode images in streaming mode.
When they detect a progressive JPEG (SOF2 marker), they:
- Display a low-frequency version as soon as enough bytes are available.
- Replace pixel data in-place as new scans arrive.
- Continue refinement until the final image is complete.
This decoding happens incrementally on a background thread - meaning no layout jank, no blocking scripts, and no CPU spikes.
That’s why progressive JPEGs are an easy win: they improve visual performance without extra code or complexity.
When to Use (and When Not To)
Progressive encoding works best for:
- Large photographic images (banners, products, editorial photos)
- Hero sections that dominate the fold
- Galleries where first impression matters
It’s less useful for:
- Small UI elements or icons (under 10 KB)
- Flat graphics or transparency (use WebP or PNG instead)
- Environments where file streaming is blocked (rare)
How to Create Progressive JPEGs
You can encode progressive images using almost any modern tool.
Command line
Use ImageMagick or similar:
bash convert input.jpg -interlace Plane -quality 80 output.jpg
That -interlace Plane flag tells the encoder to write multiple scans.
Desktop tools
- Photoshop: Enable Progressive in the “Save for Web” dialog.
- Affinity / GIMP: Check the progressive option under export settings.
- Capture One / Lightroom: Most export dialogs now have a “progressive” checkbox.
Browser tools
Modern browsers can handle it locally - no uploads, no compression loss. Try the Vayce JPEG Converter to re-encode your photos to progressive JPEGs and preview quality instantly.
How to Tell if a JPEG Is Progressive
Before converting your entire library, it’s smart to audit what you have.
- Quick check (CLI):
bash identify -verbose image.jpg | grep InterlaceIf it says Plane, it’s progressive. - Byte-level check: Progressive files contain a
SOF2marker instead ofSOF0. - Visual test: Load over a throttled 3G connection - if the image appears blurry then sharpens, it’s progressive.
Or, simply drop them into the Progressive JPEG Checker - a privacy-friendly browser tool that instantly tells you whether each image is progressive or baseline, shows scan counts.
The Workflow in Practice
- Audit existing JPEGs with the checker.
- Convert large ones to progressive mode.
- Compress to 75–85 % quality.
- Test load times with PageSpeed Insights.
- Repeat for your next batch of uploads.
The process takes minutes but has a lasting visual impact.

